In this third part on the Liferay content management system, we will look at the main content creation and editing tools.
Overview
The majority of content can be separated into Resources, News, Events or Blog post. In this case, we are considering specific content items as falling into these categories. Please be aware that Liferay has specific applications to support some of these content types such as the Blog and Calendaring application. These applications do not use the content management system but store their content within themselves. Here, we will be talking about using the content management system to model these types of content.
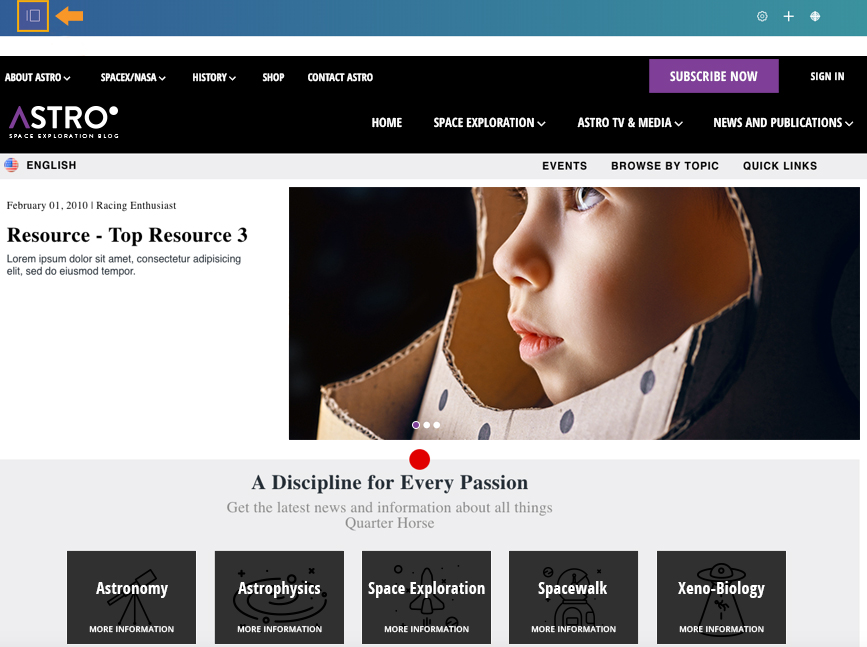
- Resources: are items that are evergreen, they may change over time but are not specific to anytime. An example of a resource is an article about a product or a manual.
- News: are content items that are valid within a period of time and are often associated with a resource. An example of News could be an article about a new product release informing visitors of its launch and availability. From that article, you could associate the specific products resource page for more information.
- Events: similar to News items, but are not only time but also geographically bound.
- Blog: a blog is a running list of short articles, normally by a person, which is often written in a journaling style about topics that are informative or opinions, to which readers who are registered with the site often can attach threaded comments.
Creating New Content
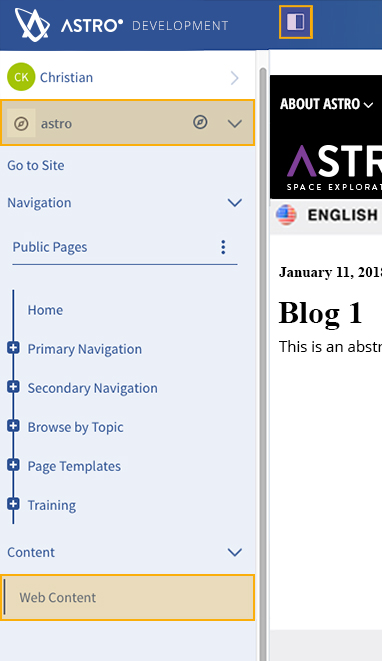
Open the side menu, make sure you are on the site you want to create content for.
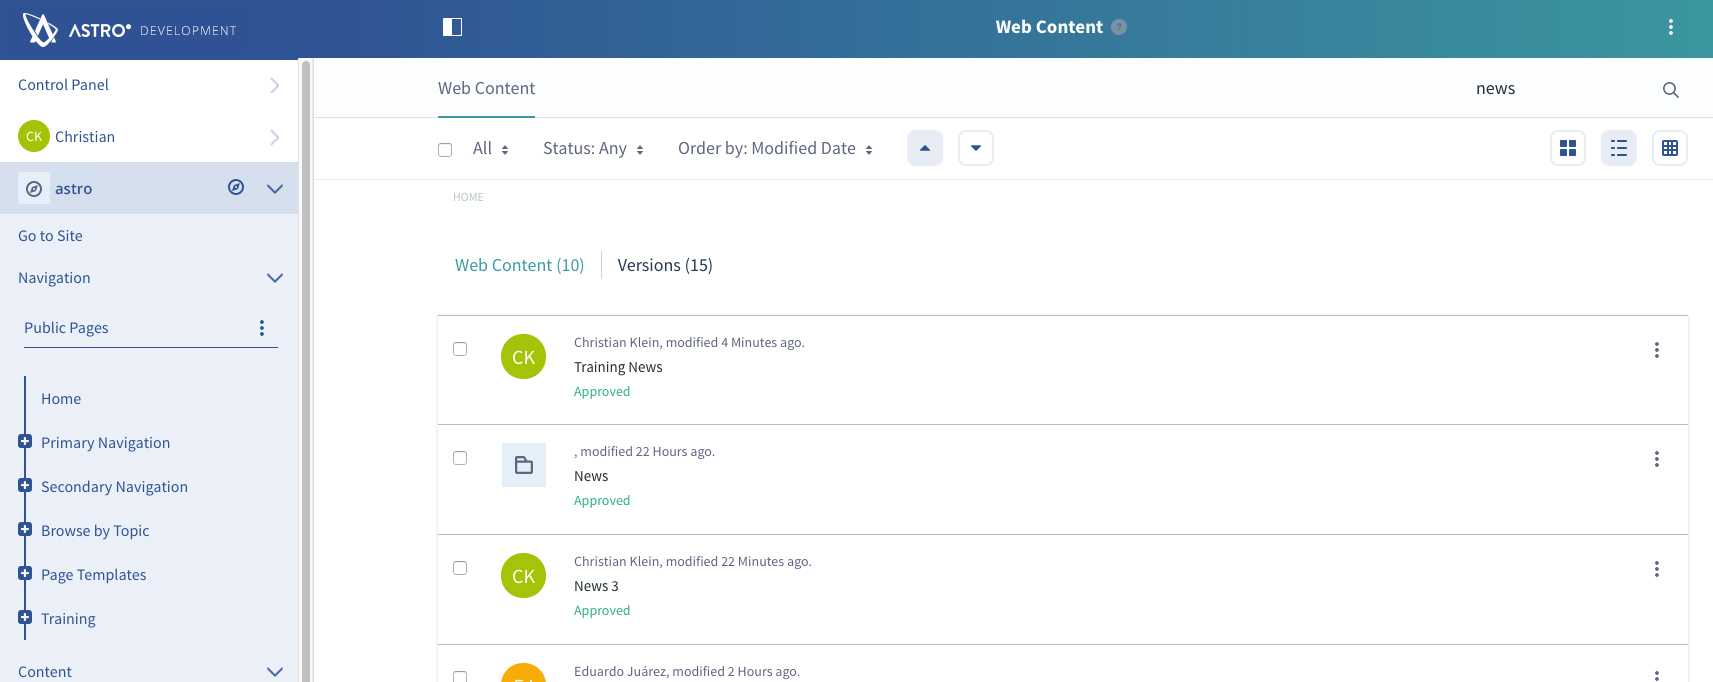
Click on the Content > Web Content option
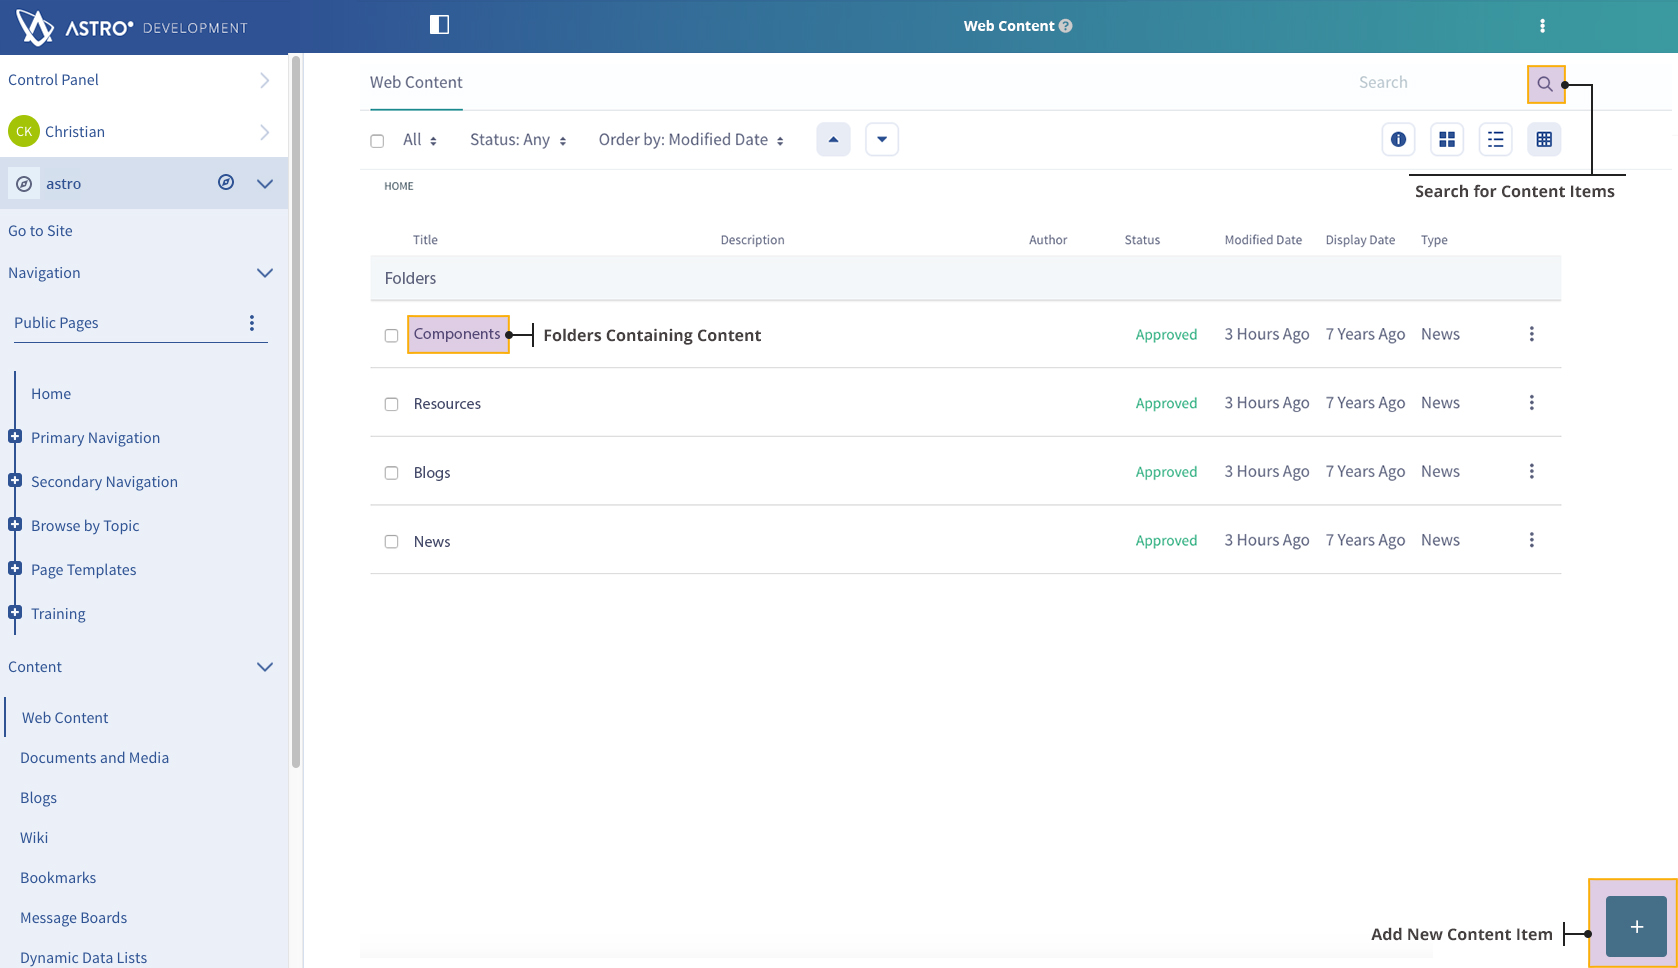
You should now see the main area of the web content management system in the main area of the site.
The main sections of the web content management system are:
- Folders containing content
- Search for content items
- Add New Content Item
Using Folders to Organize Content
There are several reasons why you might want to organize the content on your site through the use of folders. Folders can limit what content can be created within them as well as workflows specific content types must go through that are created within the individual folders.
For example an organization may have different workflows that content must go through for News created by department A versus department B. Liferay supports this by allowing the creation of a Department A News and Department B News folder, then limiting the folders to only News structures and assigning a department-specific workflow in each folder for the News structure.
When limiting what content types are allowed in a folder, you can still create your own subfolders to organize content though. These subfolders will inherit the types of content and workflows from the parent folder.
Finding Content
You can search for content in the search box. Note that search will always search in the current folder and any of its subfolders.
Editing Content
General Content creation and editing
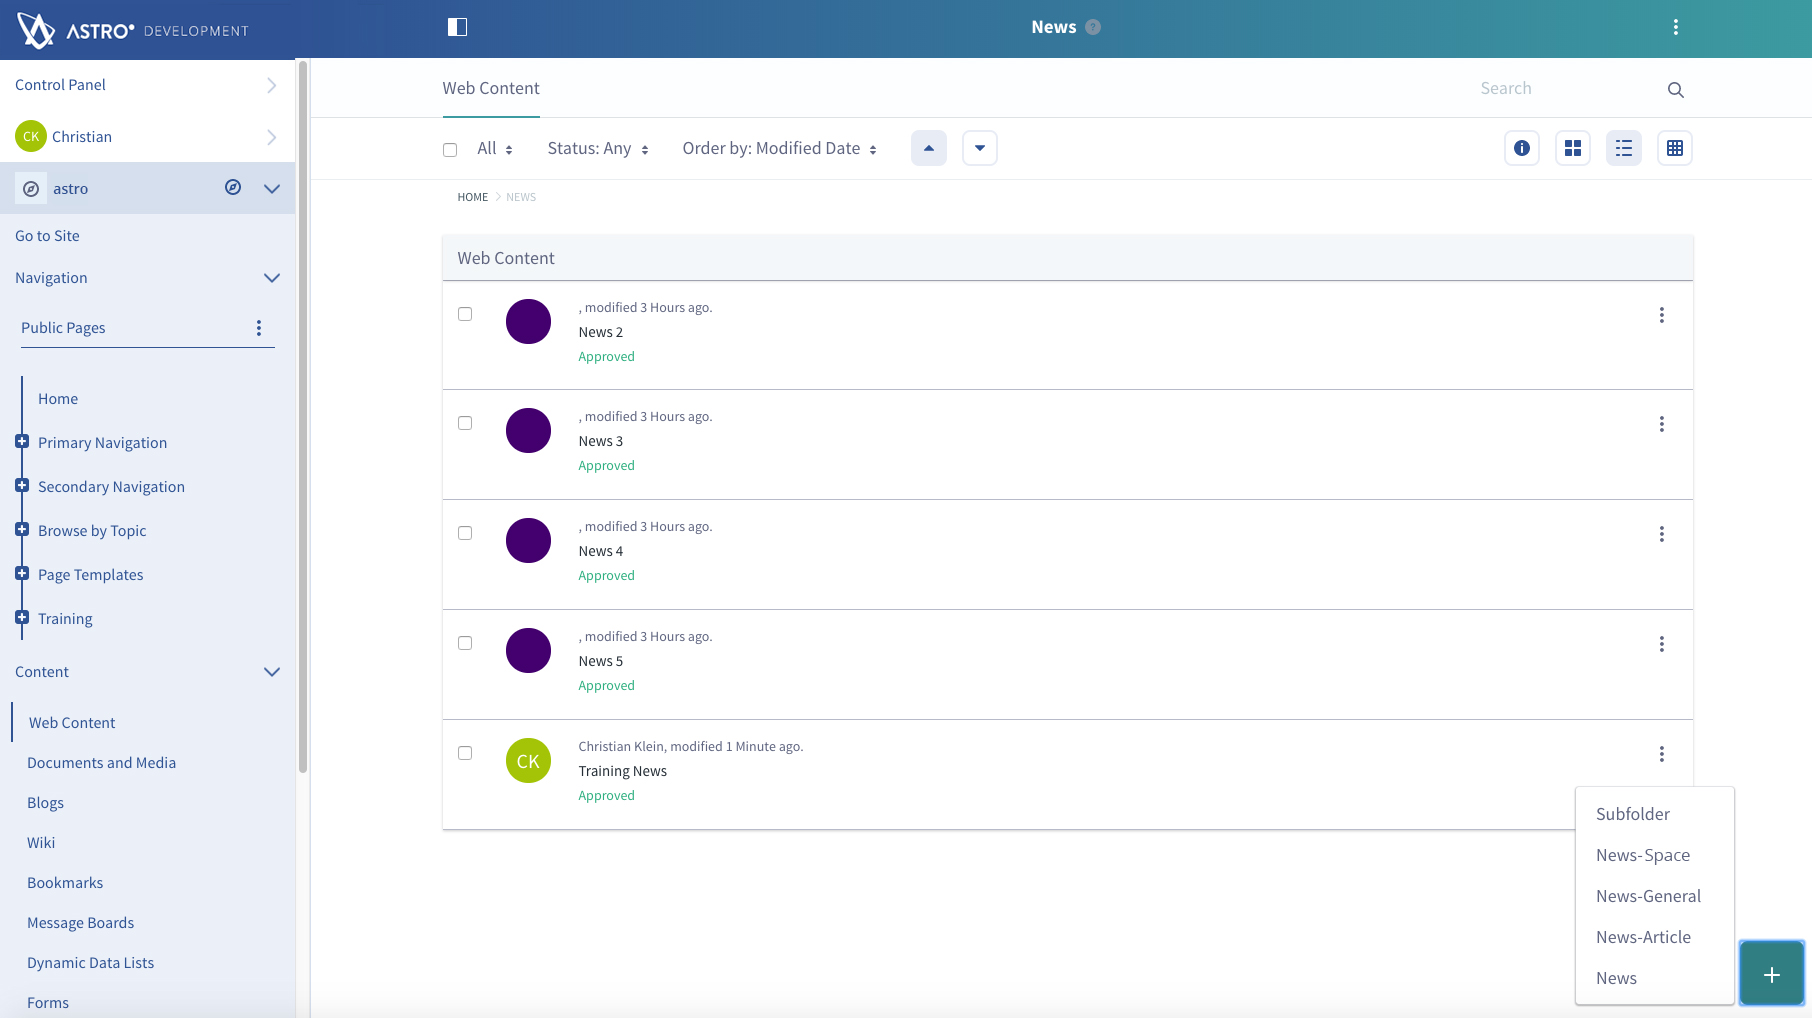
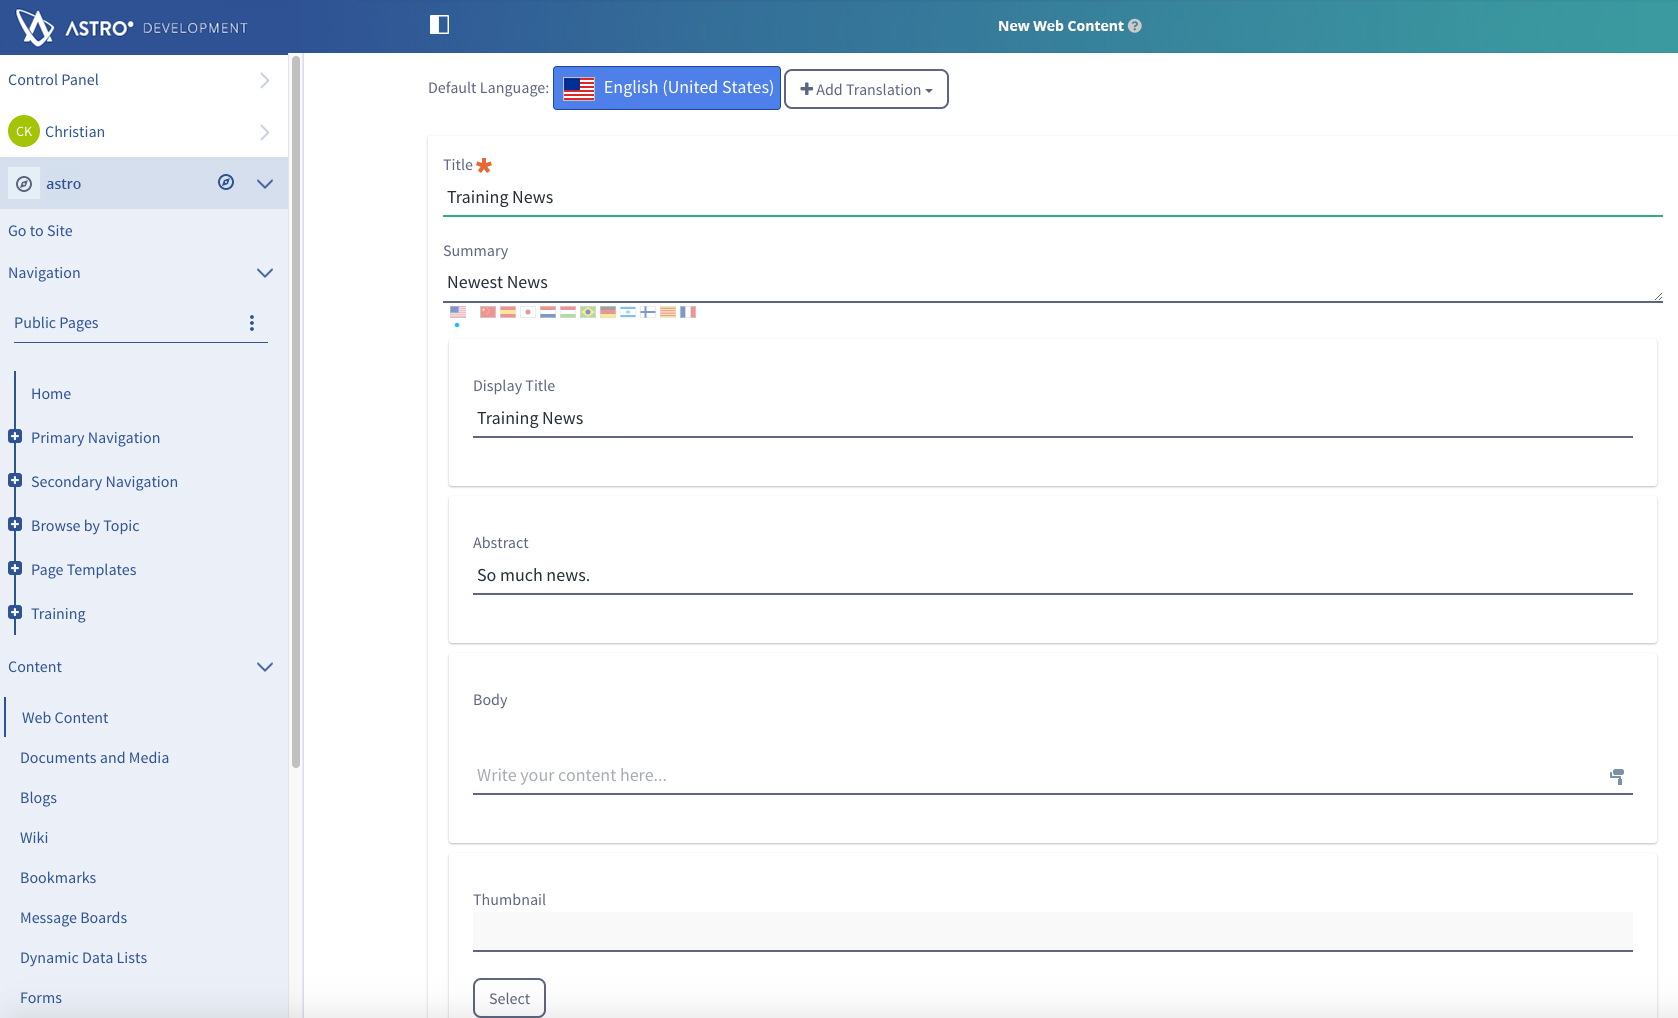
You create or edit an article by either clicking the  button and selecting a content type. You will then be presented with a form which displays the different fields that make up that type of content. These fields will be used throughout the site to display and make your content accessible.
Note that a Rich Text Field allows you to format the text you enter like you would in a Word Processor. You will see a  when editing the field as well as a
  button as shown below.

The Rich Text field editor in Liferay is context sensitive, meaning you must select something within a rich text field first to see them. For example, if you add text, then select the text you will notice that as soon as you selected the text, the editor will show you appropriate options.

Clicking on the Add icon  will show the controls for inserting an image, table, or horizontal line
Adding Images
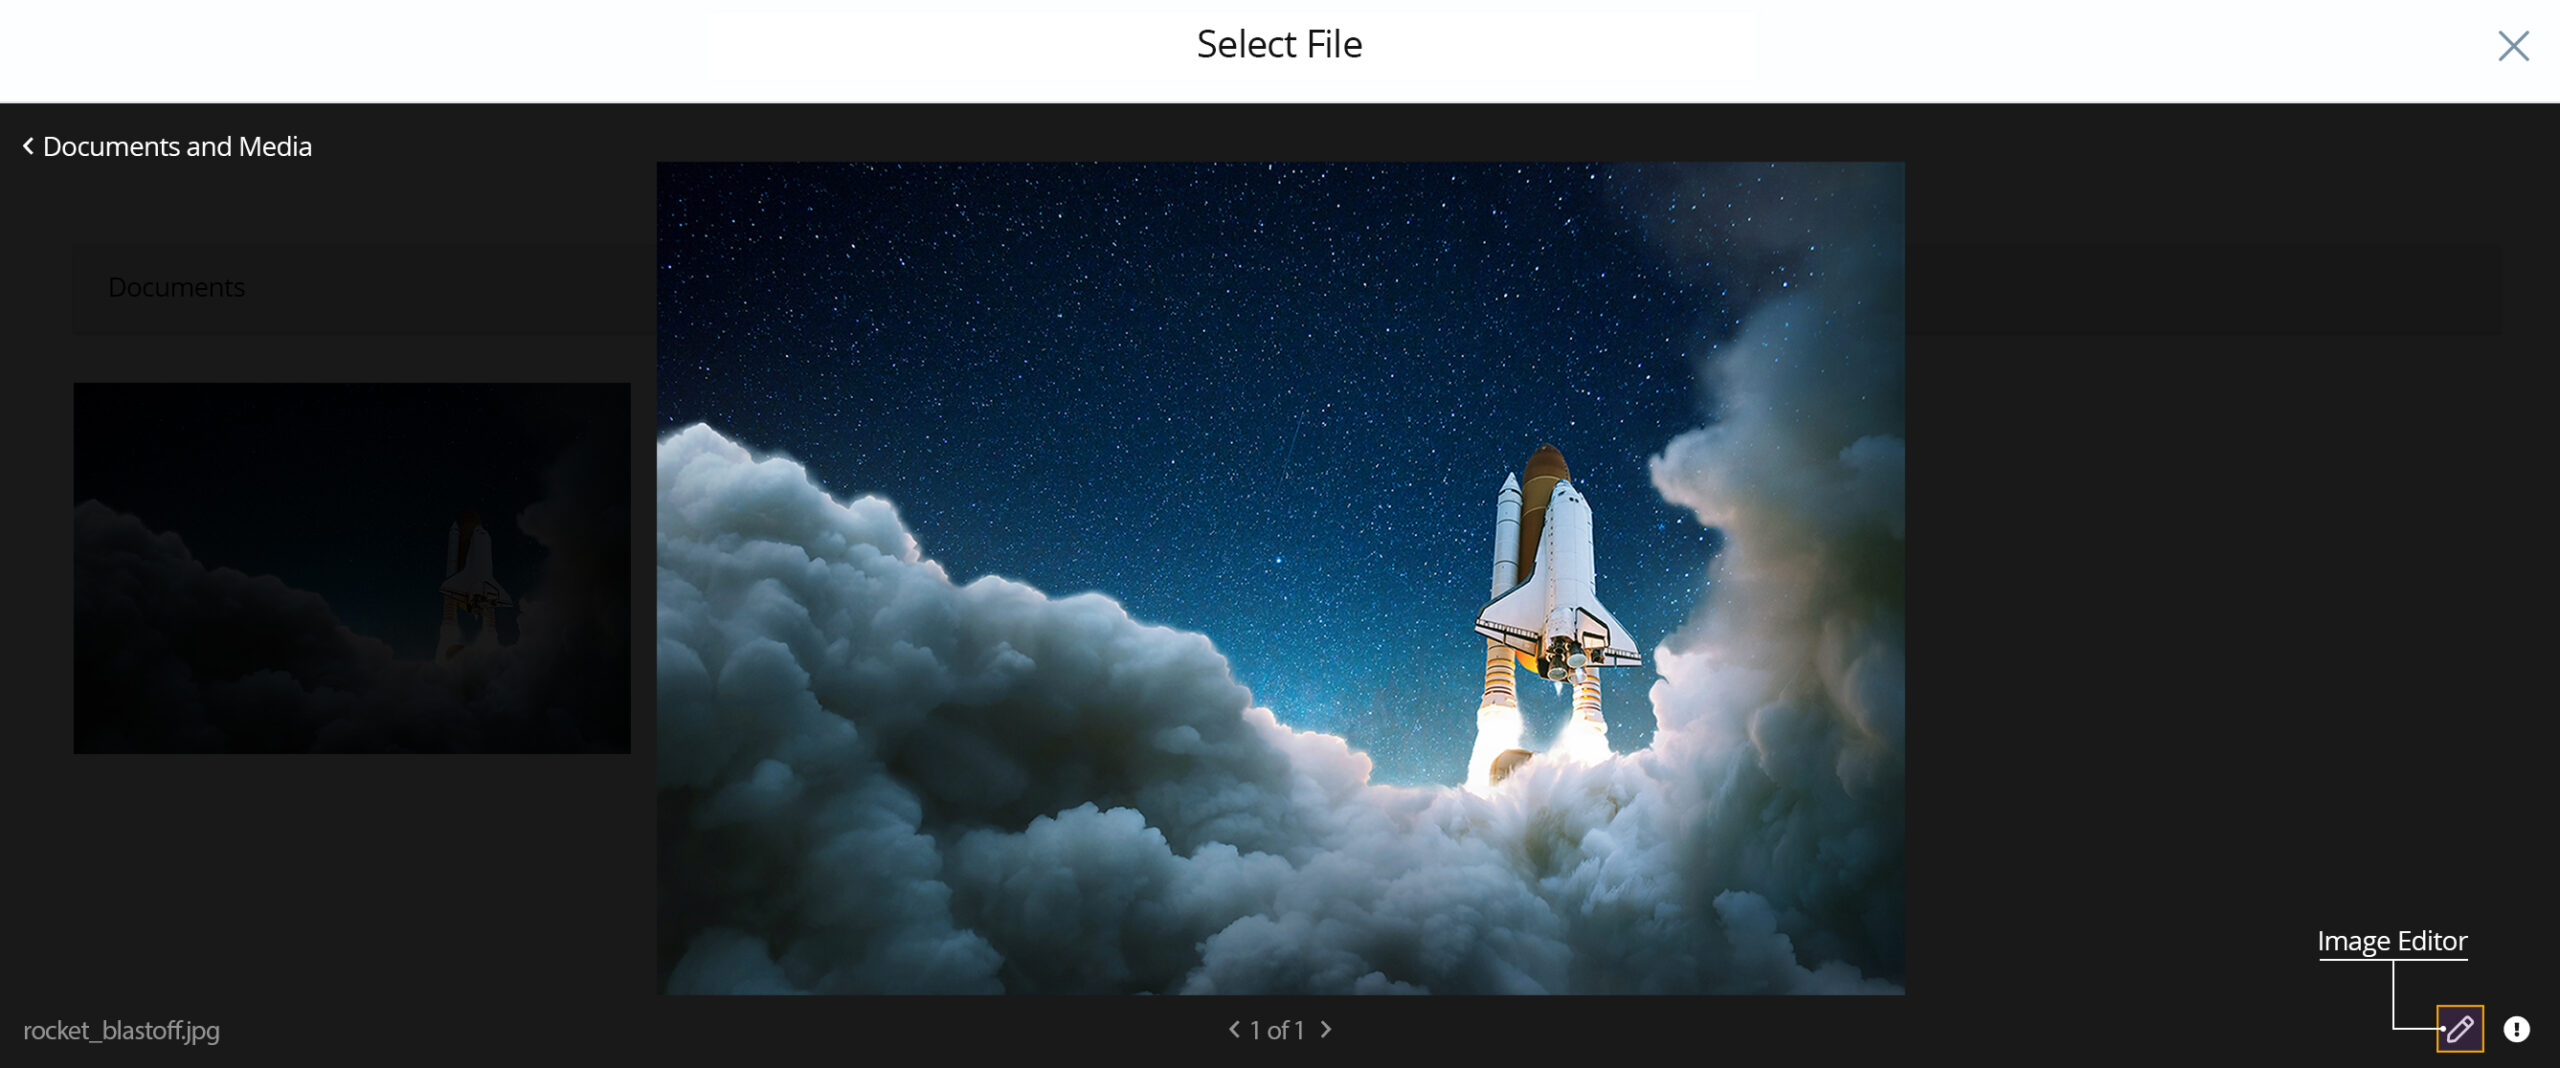
To insert an image, select the  icon. The image file selector screen appears, allowing you to choose an existing image or upload a new one. If you select an existing image in your Documents and Media repository, you can access the image editor, via the pencil icon
  in the bottom right corner of the preview window to make changes to the image. Once you’ve made edits, a copy of the image is automatically created for you to use in your web content.
After adding an image to the web content article, clicking it brings up controls 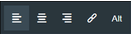 for justifying it to the left, center, or right side of the article. You can also make it a link and define the alt HTML attribute.
Adding Tables
You can also insert a table with as many rows and columns as you see fit. When clicking on the table, table editing controls appear. They let you designate the first row and/or column as table headers, and also enable you to add rows, columns, and cells. You also have the option to insert a horizontal line, which is a good separator between sub-articles or an article and its title.
Regular Editor
For those content creators that are comfortable writing in HTML code, the editor also includes an HTML source code editor. To switch the editor to source view, select the Source icon . Note that the Regular Mode icon
  appears, which you can select to return to regular mode. You also have the option to switch between a dark and light theme by choosing the moon and sun icons. The built-in syntax coloring helps you identify HTML elements, regardless of the mode you’re using.
You can even work in a dual pane view that shows your HTML code on the left and a preview pane on the right. To open this view, click on the Enlarge icon . You can arrange the HTML and preview panes horizontally or vertically. You can also hide the preview pane if preferred.
You can exit the enlarged editor by clicking the 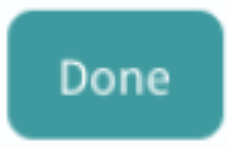 button.
Actions for Content
The bottom menu of the Web Content form provides options for customizing your web content.
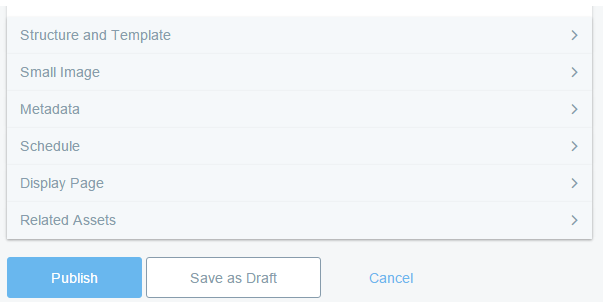
- Structure and Template: lets you customize the web content article’s structure and template. WARNING Changing the structure of a content item may delete existing data.
- Small Image: sets the image that is used for the web content article’s previews. For example, when viewing an article in the Web Content library, the small image is displayed as the article’s icon.
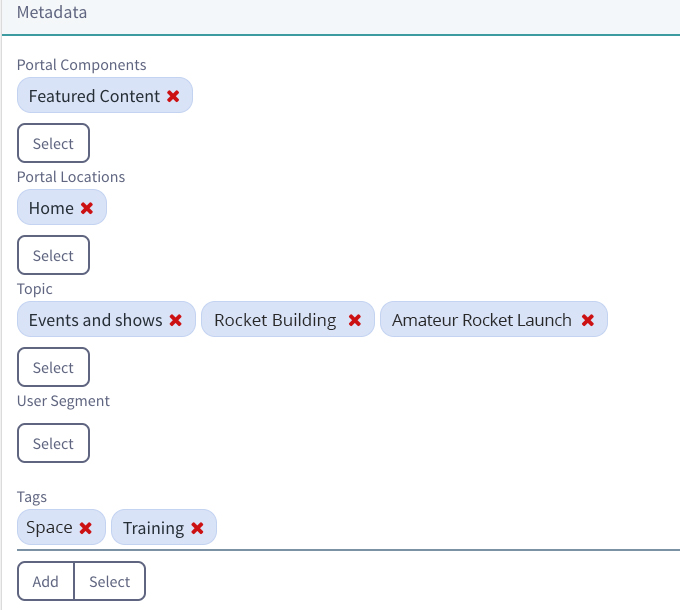
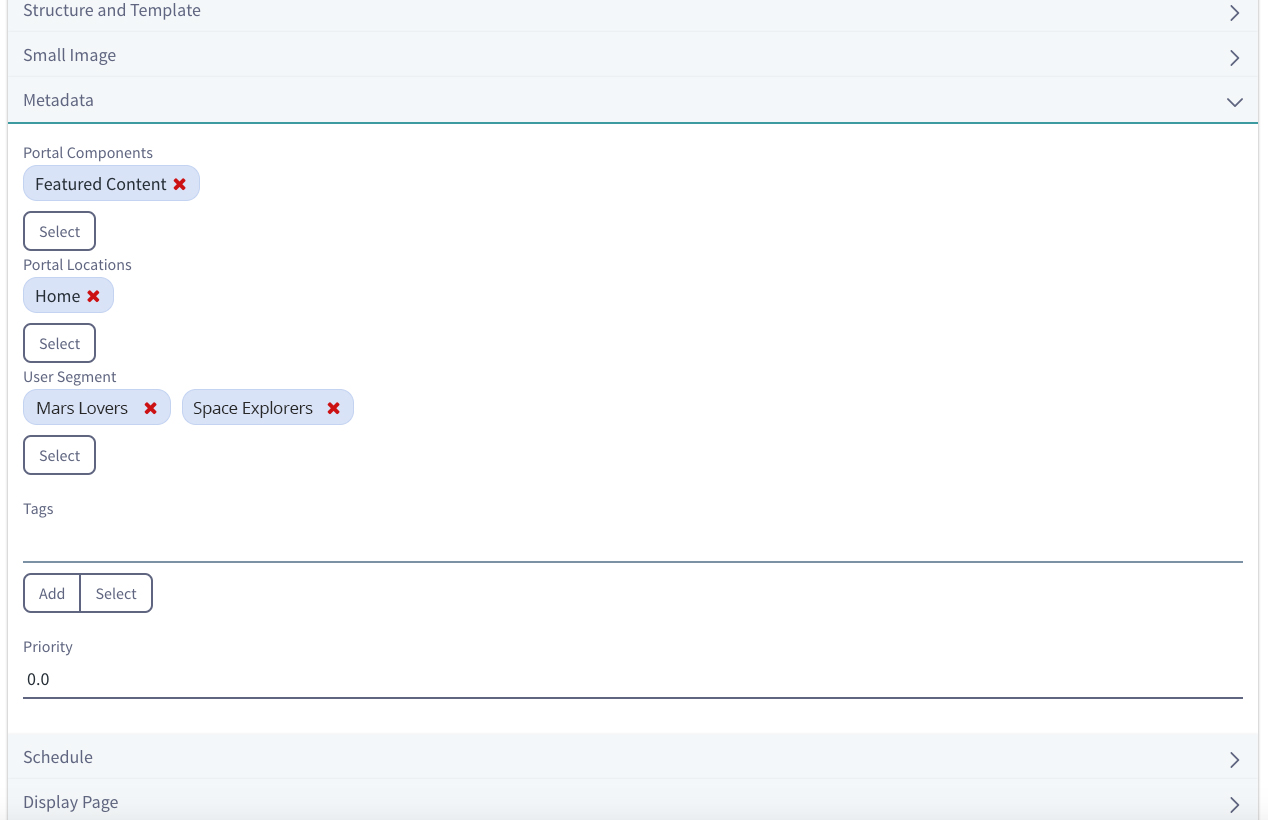
- Metadata: let you set the organizational hierarchy of the web content article by selecting tags, categories, and priority. This is where we will target the content to the home page featured items section.
- Schedule: customizes the date and time your content publishes and/or expires.
- Display Page: lets you determine where the web contents are displayed when linked from other pages. You should not need to change this.
- Related Assets: lets you determine content relationships between the web content article and other assets in your Liferay instance, even if they don’t share any tags and aren’t in the same category.
- Permissions: customizes who has access to the content. By default, content is viewable by Anyone (Guest Role). You can limit viewable permissions by selecting any Role from the drop-down or in the list. Additionally, Liferay Portal provides the ability to customize permissions in more detail. Select the More Options link below the drop-down button and you’ll find the different activities you can grant or deny to your web content article.
Tagging and Categorizing Content
You can use categories and tags to describe the content. When using categories, the Topics vocabulary lets you describe what topics the content covers and helps visitors find content easier.
At Base22, we use categories extensively to drive content to specific components throughout our sites. For example, we may have a component on the home page that looks for content categorized with specific entries in the Portal Locations and Portal Components custom vocabularies we created.
If you set those categories in your content (for example All Locations > Home and All Components > Featured Content) your content would shop in the featured content carousel on the home page.
Now our new article is shown on the homepage.

In addition to using the categories, you can also add tags. Tags are an important tool that can help organize information in Liferay Portal and make it easier for users to find the content that they’re interested in. Tags are lowercase words or phrases that you can attach to any content on the website without having to define them in the system first. Uppercase characters in tags aren’t recognized. Tagging content makes your search results more accurate.
You can type in tags directly in an ad hoc fashion or choose an existing one using the Select option. Since tags can be typed in freely, you should look if a similar or same tag was used in the site through the Select option.
Targeting Content to Different User Segments
If the Audience Targeting application is installed you will see one special vocabulary in the content editing form name User Segment.
Audience targeting can be configured to use a score based system to increase a user’s exposure to the content of the site of a specific topic or topics. By selecting one or more user segment categories you tell the system to increase the users' score for that segment by one. Effectively you tell the audience targeting application that your content would interest the specific user segment(s), and by visiting the content we increase that visitors interest score by one. Once the user reaches a certain threshold of points he is added to the segment and the site can now target specific other content in the site to him or her.
Audience targeting is a system to drive visitors to other content throughout your site based on behaviors (as described above) or other information the system has about them. It should not be confused with advertising/monetization tools by third-party applications – it’s out of the box goal is to drive traffic within your site.
Hiding content from search
You can hide content from the search results by turning the Searchable option to false.

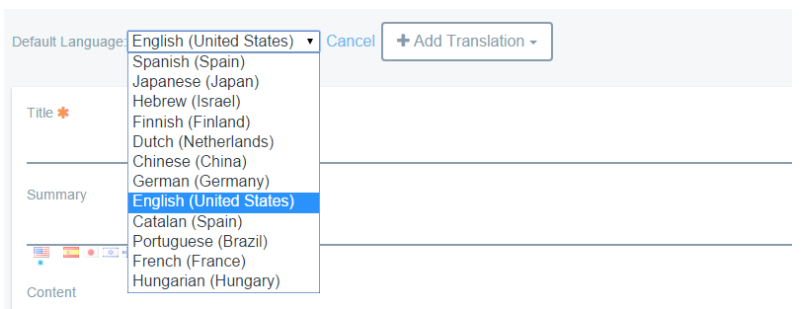
Localizing Content
By default, content created will be set to Liferay system default language as configured by the system administrator (by default, this is English). You can, however, add a new translation of the content through options on the top of the form.
Click Add Translation and you can select a language by scrolling through the list. Liferay supports over 40 languages, though your system and site may be configured to fewer. When you select a language, an Available Translations list is rendered and the language you selected is highlighted. The new web content form enables you to translate the original web content into the selected language. Once you are done with the translation, click Publish and the translation is added to the list of Available Translations.
You will also encounter certain fields with country flags underneath them. These allow you to supply translations for the specific field without having to create a translation of the full content item.

Scheduling Web Content Publication
Liferay’s web content management system lets you define your content lifecycle once it is published. You can determine when the content is displayed, expired and/or reviewed. This is an excellent way to keep your site current and free from outdated (and perhaps incorrect) information. The scheduler is built right into the form you access to add web and edit content. It can be found in the bottom panel listed with several other configurable settings.

- Display Date: Sets (within a minute) when content will be displayed.
- Expiration Date: Sets a date to expire the content. The default is one year.
- Never Expire: Sets your content to never expire.
- Review Date: Sets a content review date.
- Never Review: Sets the content to never be reviewed.
The scheduling feature in Liferay Portal gives you great control in managing when, and for how long, your web content is displayed on your website. Additionally, you have the ability to determine when your content should be reviewed for accuracy and/or relevance. This makes it possible to manage your growing inventory of content.
In the next post, we will look at publishing content and how to approve or reject submissions.