In this second part on Liferay as a content management system, I will give a short overview of the sections that are important to us as content authors. I will review the different parts that make up the Liferay UI once you are logged in, with a focus on the main side menu on the left side of the screen as well as the simulation tool that allows us to review our content on multiple simulated devices.
Is it your first time using and exploring a Liferay platform? Here's a quick and easy guide to get you familiar with this tool.
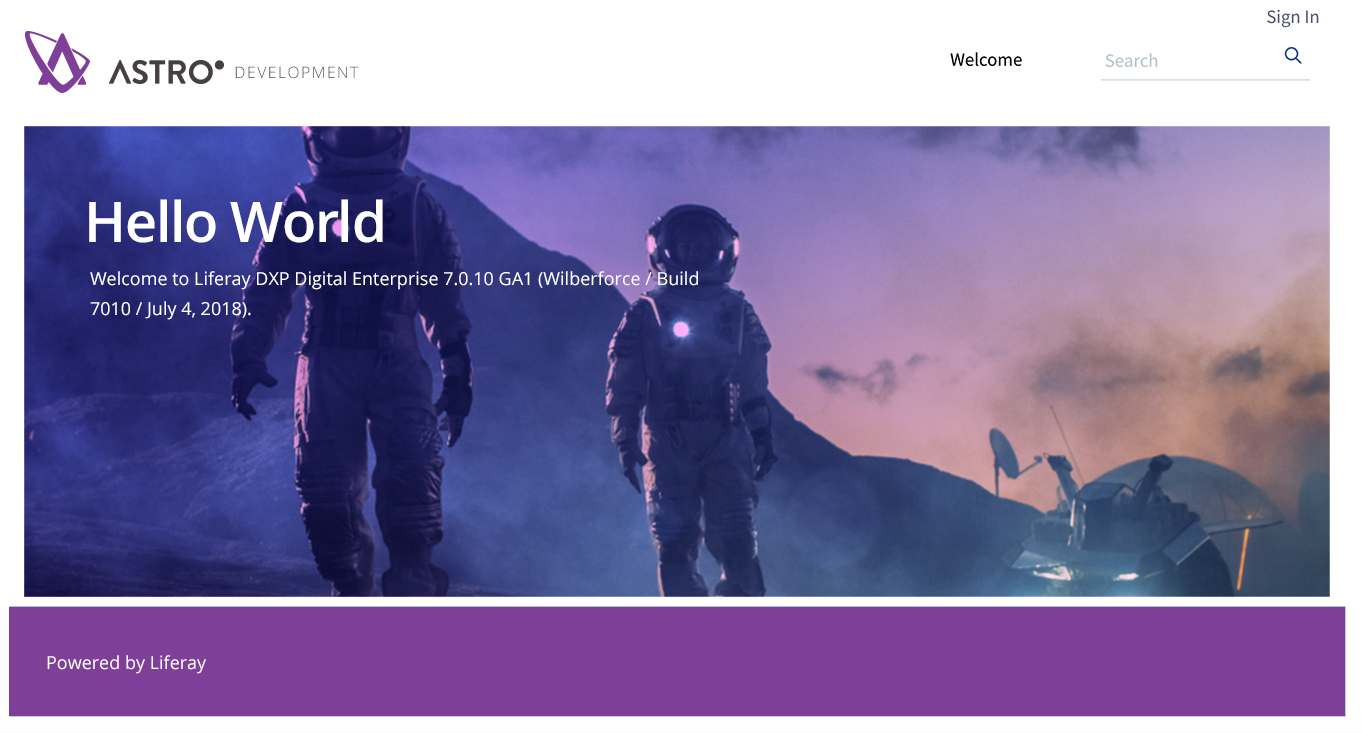
First things first: Liferay can host multiple sites - you may host a public facing .com site, an e-commerce store, intranet or vendor site, all on the same server. Here we will focus on the default Liferay site - with some graphical enhancements we made.
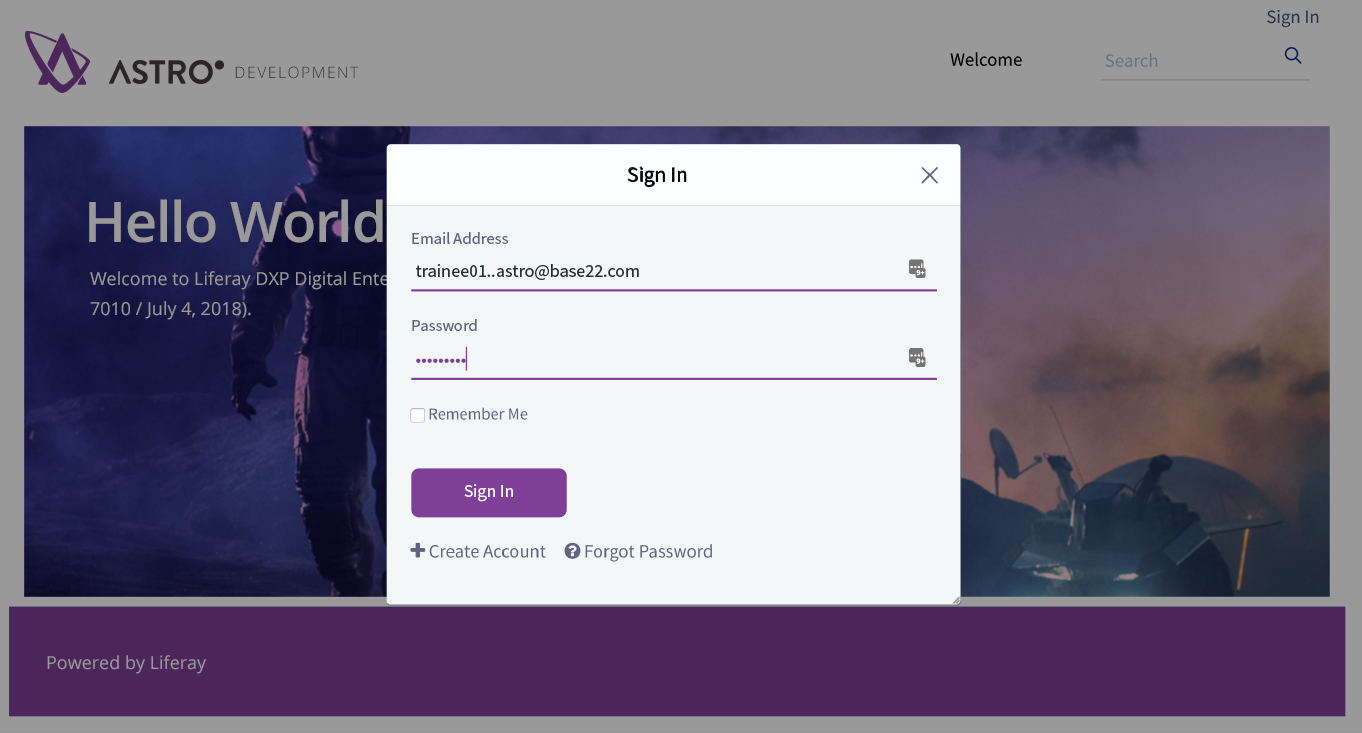
Click on Sign In on the top right of the page and a login pop-up should be appear where you can supply your credentials. By default there is one account with the id test@liferay.com and the password "test". Obviously this is the first thing that should be changed on any site to ensure a secure system.
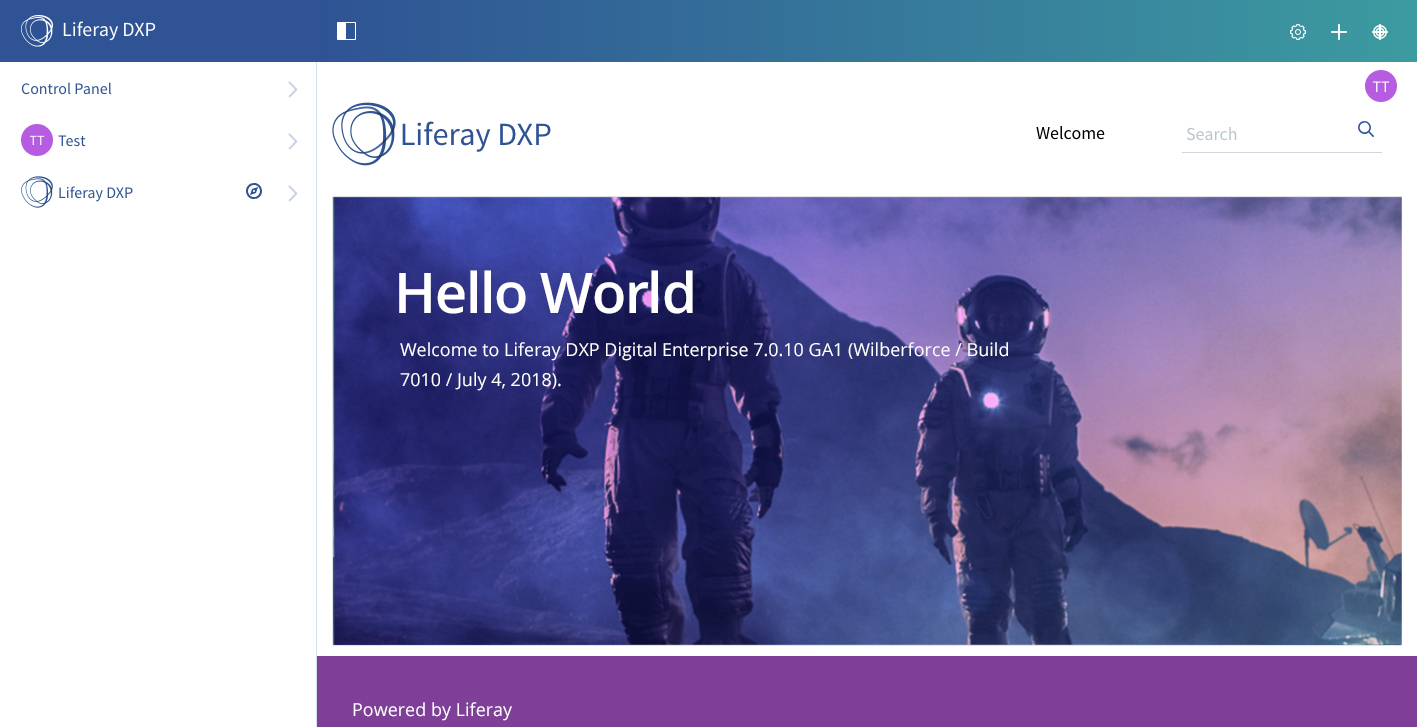
Once you are logged in the system will show you the side menu on the left, with which -depending on your permissions - you will be able to access the system control menu, your personal pages and account information as well as the current site management section.
Going forward, we will assume a system administrator account as the logged in user, but a lot of sections may or may not be visible to you on systems depending on your specific permissions.
The side menu can be opened/closed with the button on the top that is a half-filled/half-empty square.
There are 3 main sections:
- Control Panel: For administration of the server. If you are not an administrator you may not see this. This is where administrators manage users/sites/applications and general server configuration.
- Trainee (your username): This is where your account and profile information is located, as well as a sign-out option.
- A site (by default named “Liferay DXP”): This is where the navigation, content, membership, configuration, and publishing of the currently selected site is located.
By clicking on your username (in this case: Trainee), you'll see "My Account" droplist with the following options:
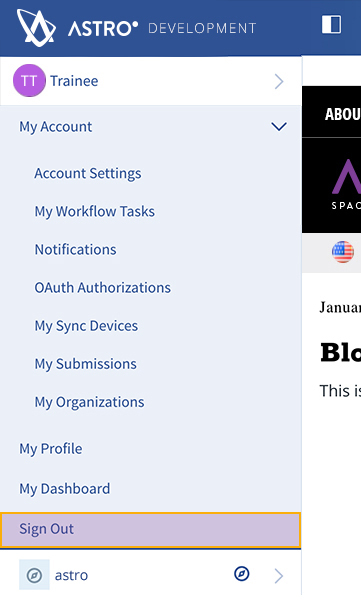
- Account settings: Your profile information. It allows you to set profile information such as name, language, birthday, password, security data such as groups and roles (if you have access), as well as other metadata about yourself.
- My Workflow Tasks: If your site uses workflows, you will be able to do such tasks as content reviews and approvals here.
- Notifications: This will show system notifications such as workflow assignments and other notifications from Liferay.
- OAuth Authorizations: Are used when your site uses OAuth for authentication and SSO.
- My Sync Devices: Tracks your devices using Liferay Sync. Liferay Sync allows synchronizing a local folder to Liferay documents and media automatically (similar to other cloud storage vendors such as Dropbox, iCloud or OneDrive).
- My Submissions: Publications you submitted.
- My Subscriptions: Subscriptions you have within the site.
- This section also shows a sign-out link.
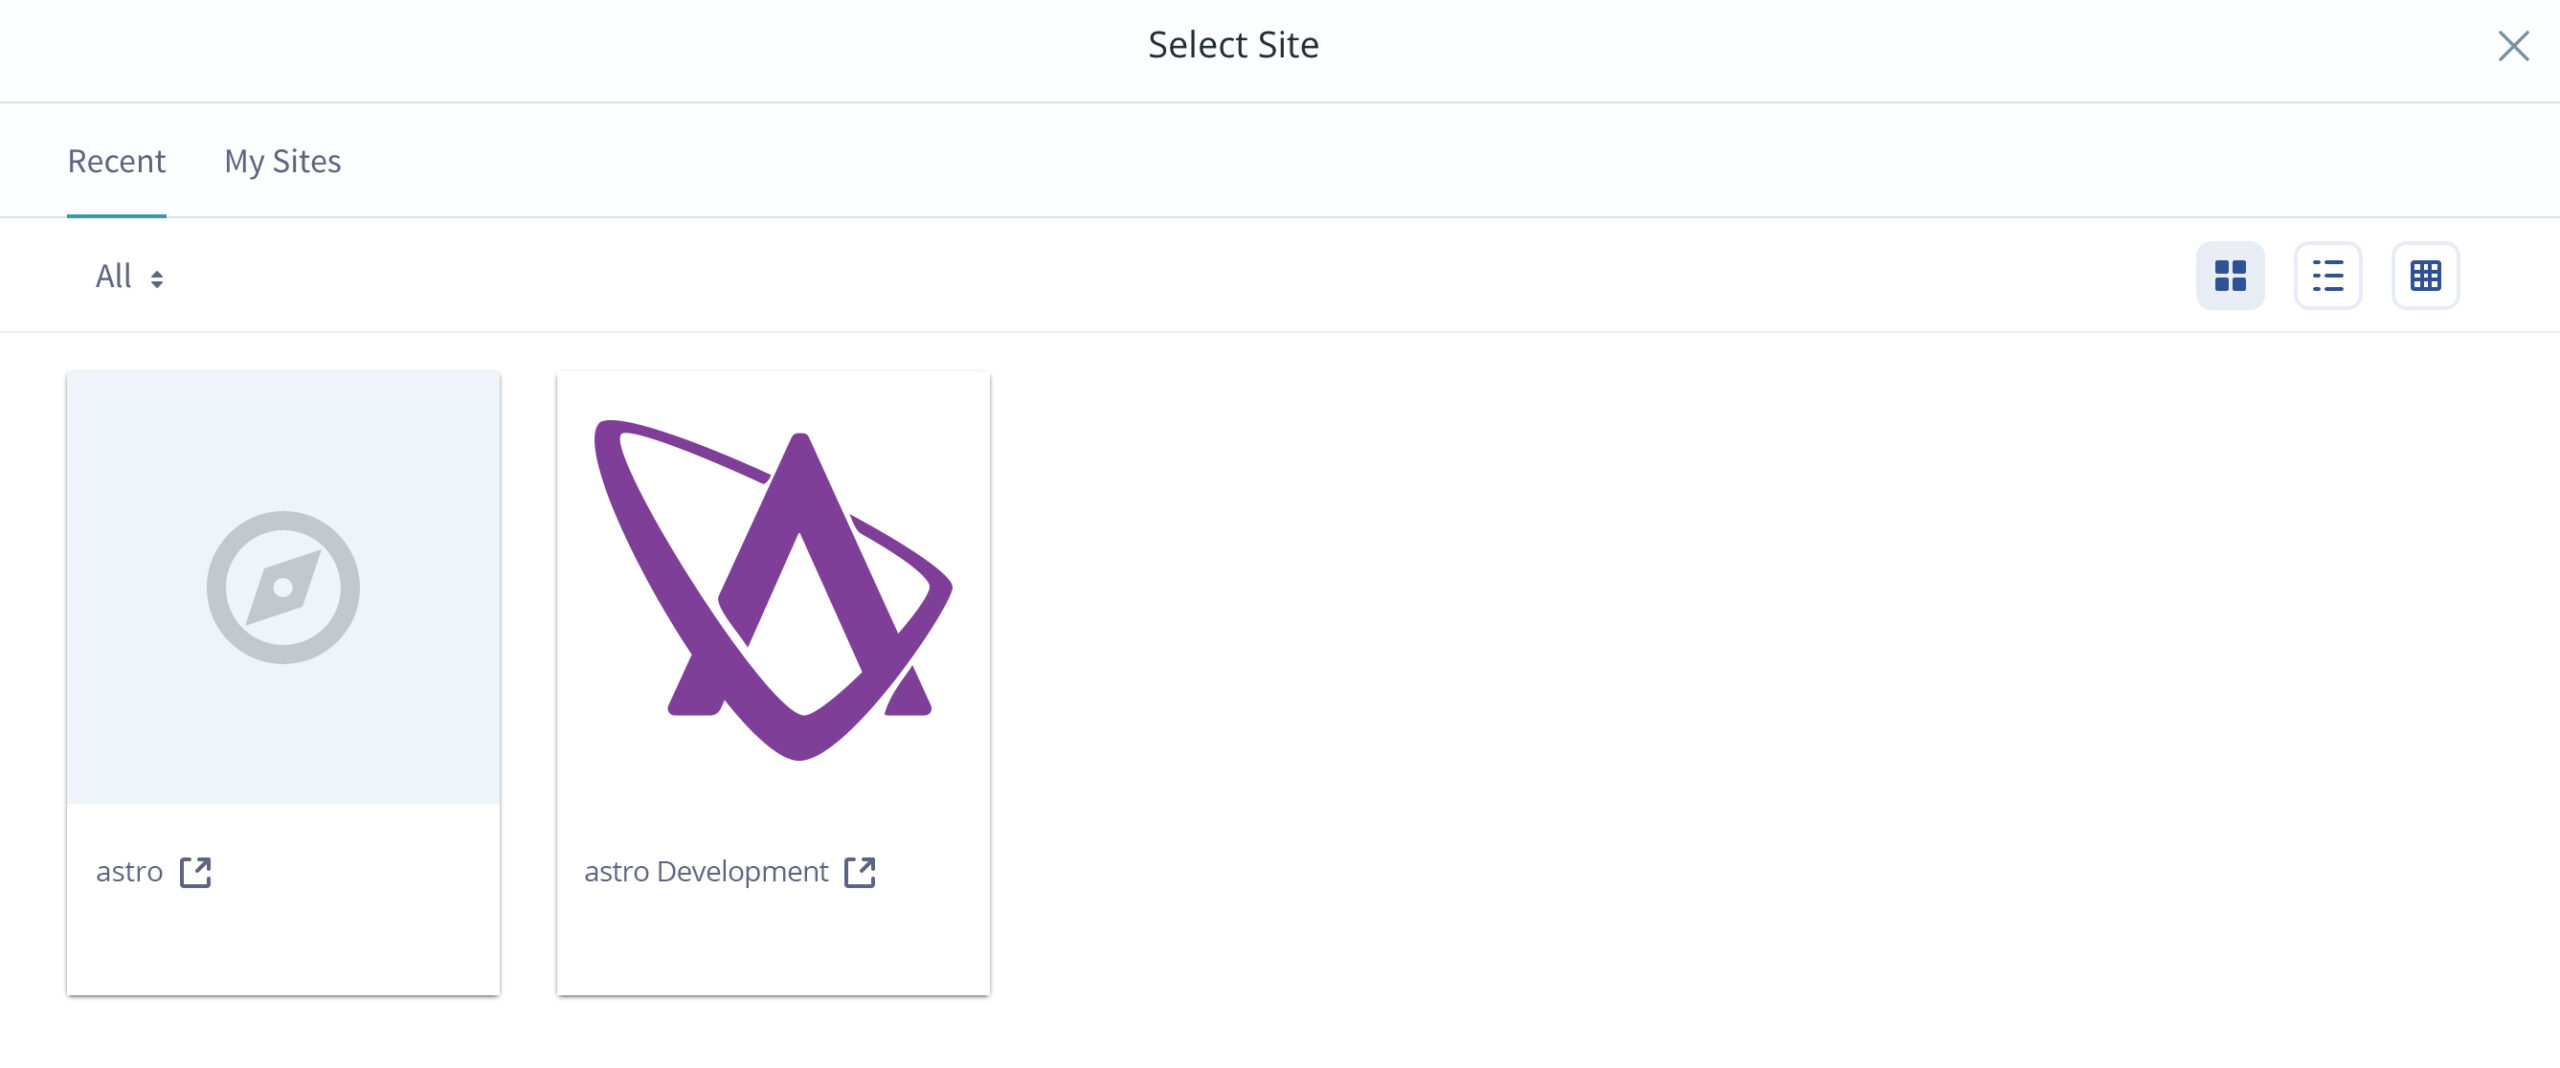
Next, in the left menu, you will see the currently selected site and its options. If you do not see the site you are looking for, you can change to the correct site by clicking the compass icon  next to the current site name

After clicking on the compass, you should see a list of recently used sites by you. If the site you are looking for is not listed, click on My Sites to see all the sites you have access to. Click on one of the listed sites to switch to it.
The Navigation shows all defined pages in the site.
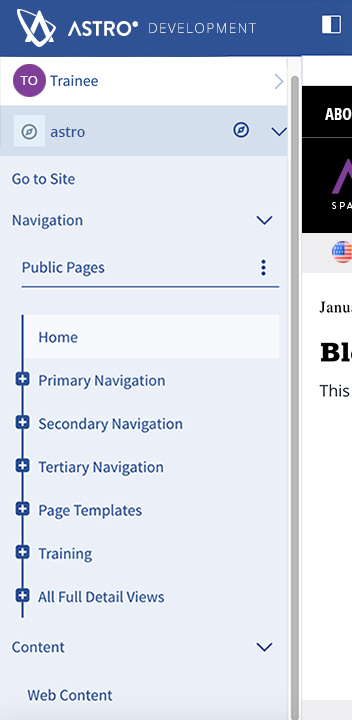
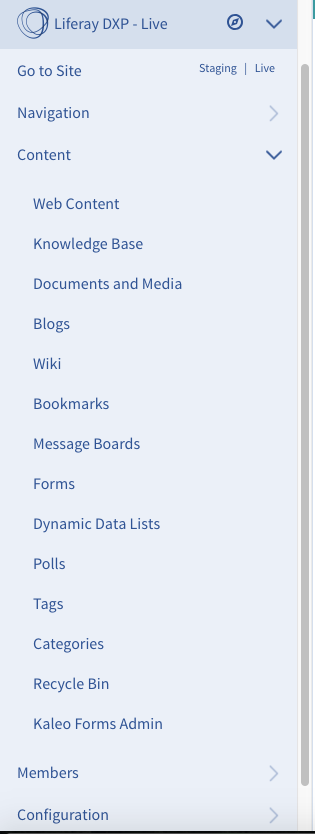
Under the site name (“Liferay DXP”) options, you can find:
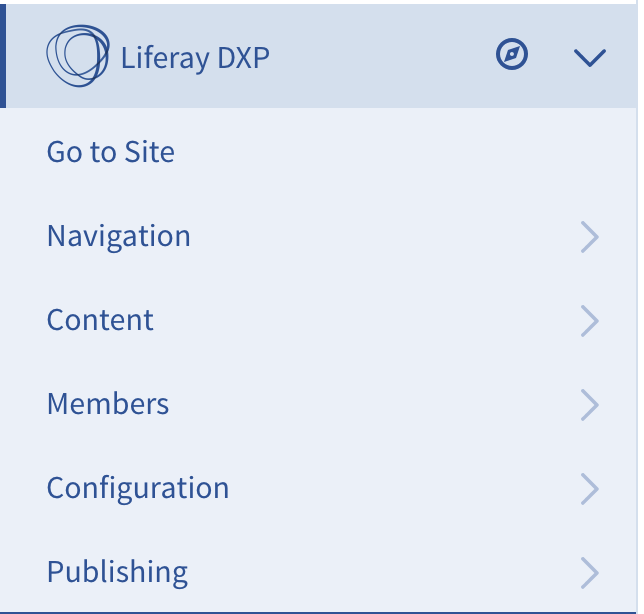
- Go to Site: Goes to the home page of the current site.
- Navigation: Shows a complete navigation of all pages in the site.
- Content: This is where you can manage web content, the Documents and Media library, create new forms, Categories, and Tags as well as other types of Liferay content (Wikis, Blogs, Polls, etc.).
- Members: manage the specific site's members and teams.
- Configuration: Site-specific configuration and management options, application templates, workflow configuration for the site, as well as other site and application specific settings.
- Publishing: Importing and Exporting of content.
As a site administrator or author, most of our work will be in this site area of the menu. Expand it to see the Go To Site navigation and other options. Expand the Content section to see the Web and other content sections your account has access to.
At Base22 we divide content into multiple types, with the primary types being Resources, News and Blogs.
- Resources: Content that is considered evergreen and not bound to a specific time period. It may be updated over time, but it is designed for the long term.
- News: Content that is valid and useful at the moment. Often advertises and links to a resource.
- Blog: the Opinion piece. Often somewhere between a resource and a news item.
- Event: Similar to news, events are time bound but also have a geographic location associated with it.
- Component Content: Specialized content that drives the behavior of a UI component.
The site consists of a collection of pages which in turn consist of a collection of portlets. The portlets are configured to drive the visual and functional experience for the user.
To make it easier for page administrators to create new sections you can create page templates. Pages created from these page templates have portlets placed on them with a default configuration. Page administrators then only need to configure the portlets, for example, to retrieve the correct content and have the option to add additional components or remove existing ones.
In general, it is highly recommended to use templates to ensure a uniform user experience throughout the site. This is true for page templates as well as content templates and application display templates.
Layouts define the structure of a page. Some example layouts are:
- 1 column: All portlets are displayed on top of each other
- 3 columns: Portlets can be placed in one of three columns. In each column, portlets are displayed on top of each other
There are many other layouts available out of the box, and developers can create additional layouts for you.

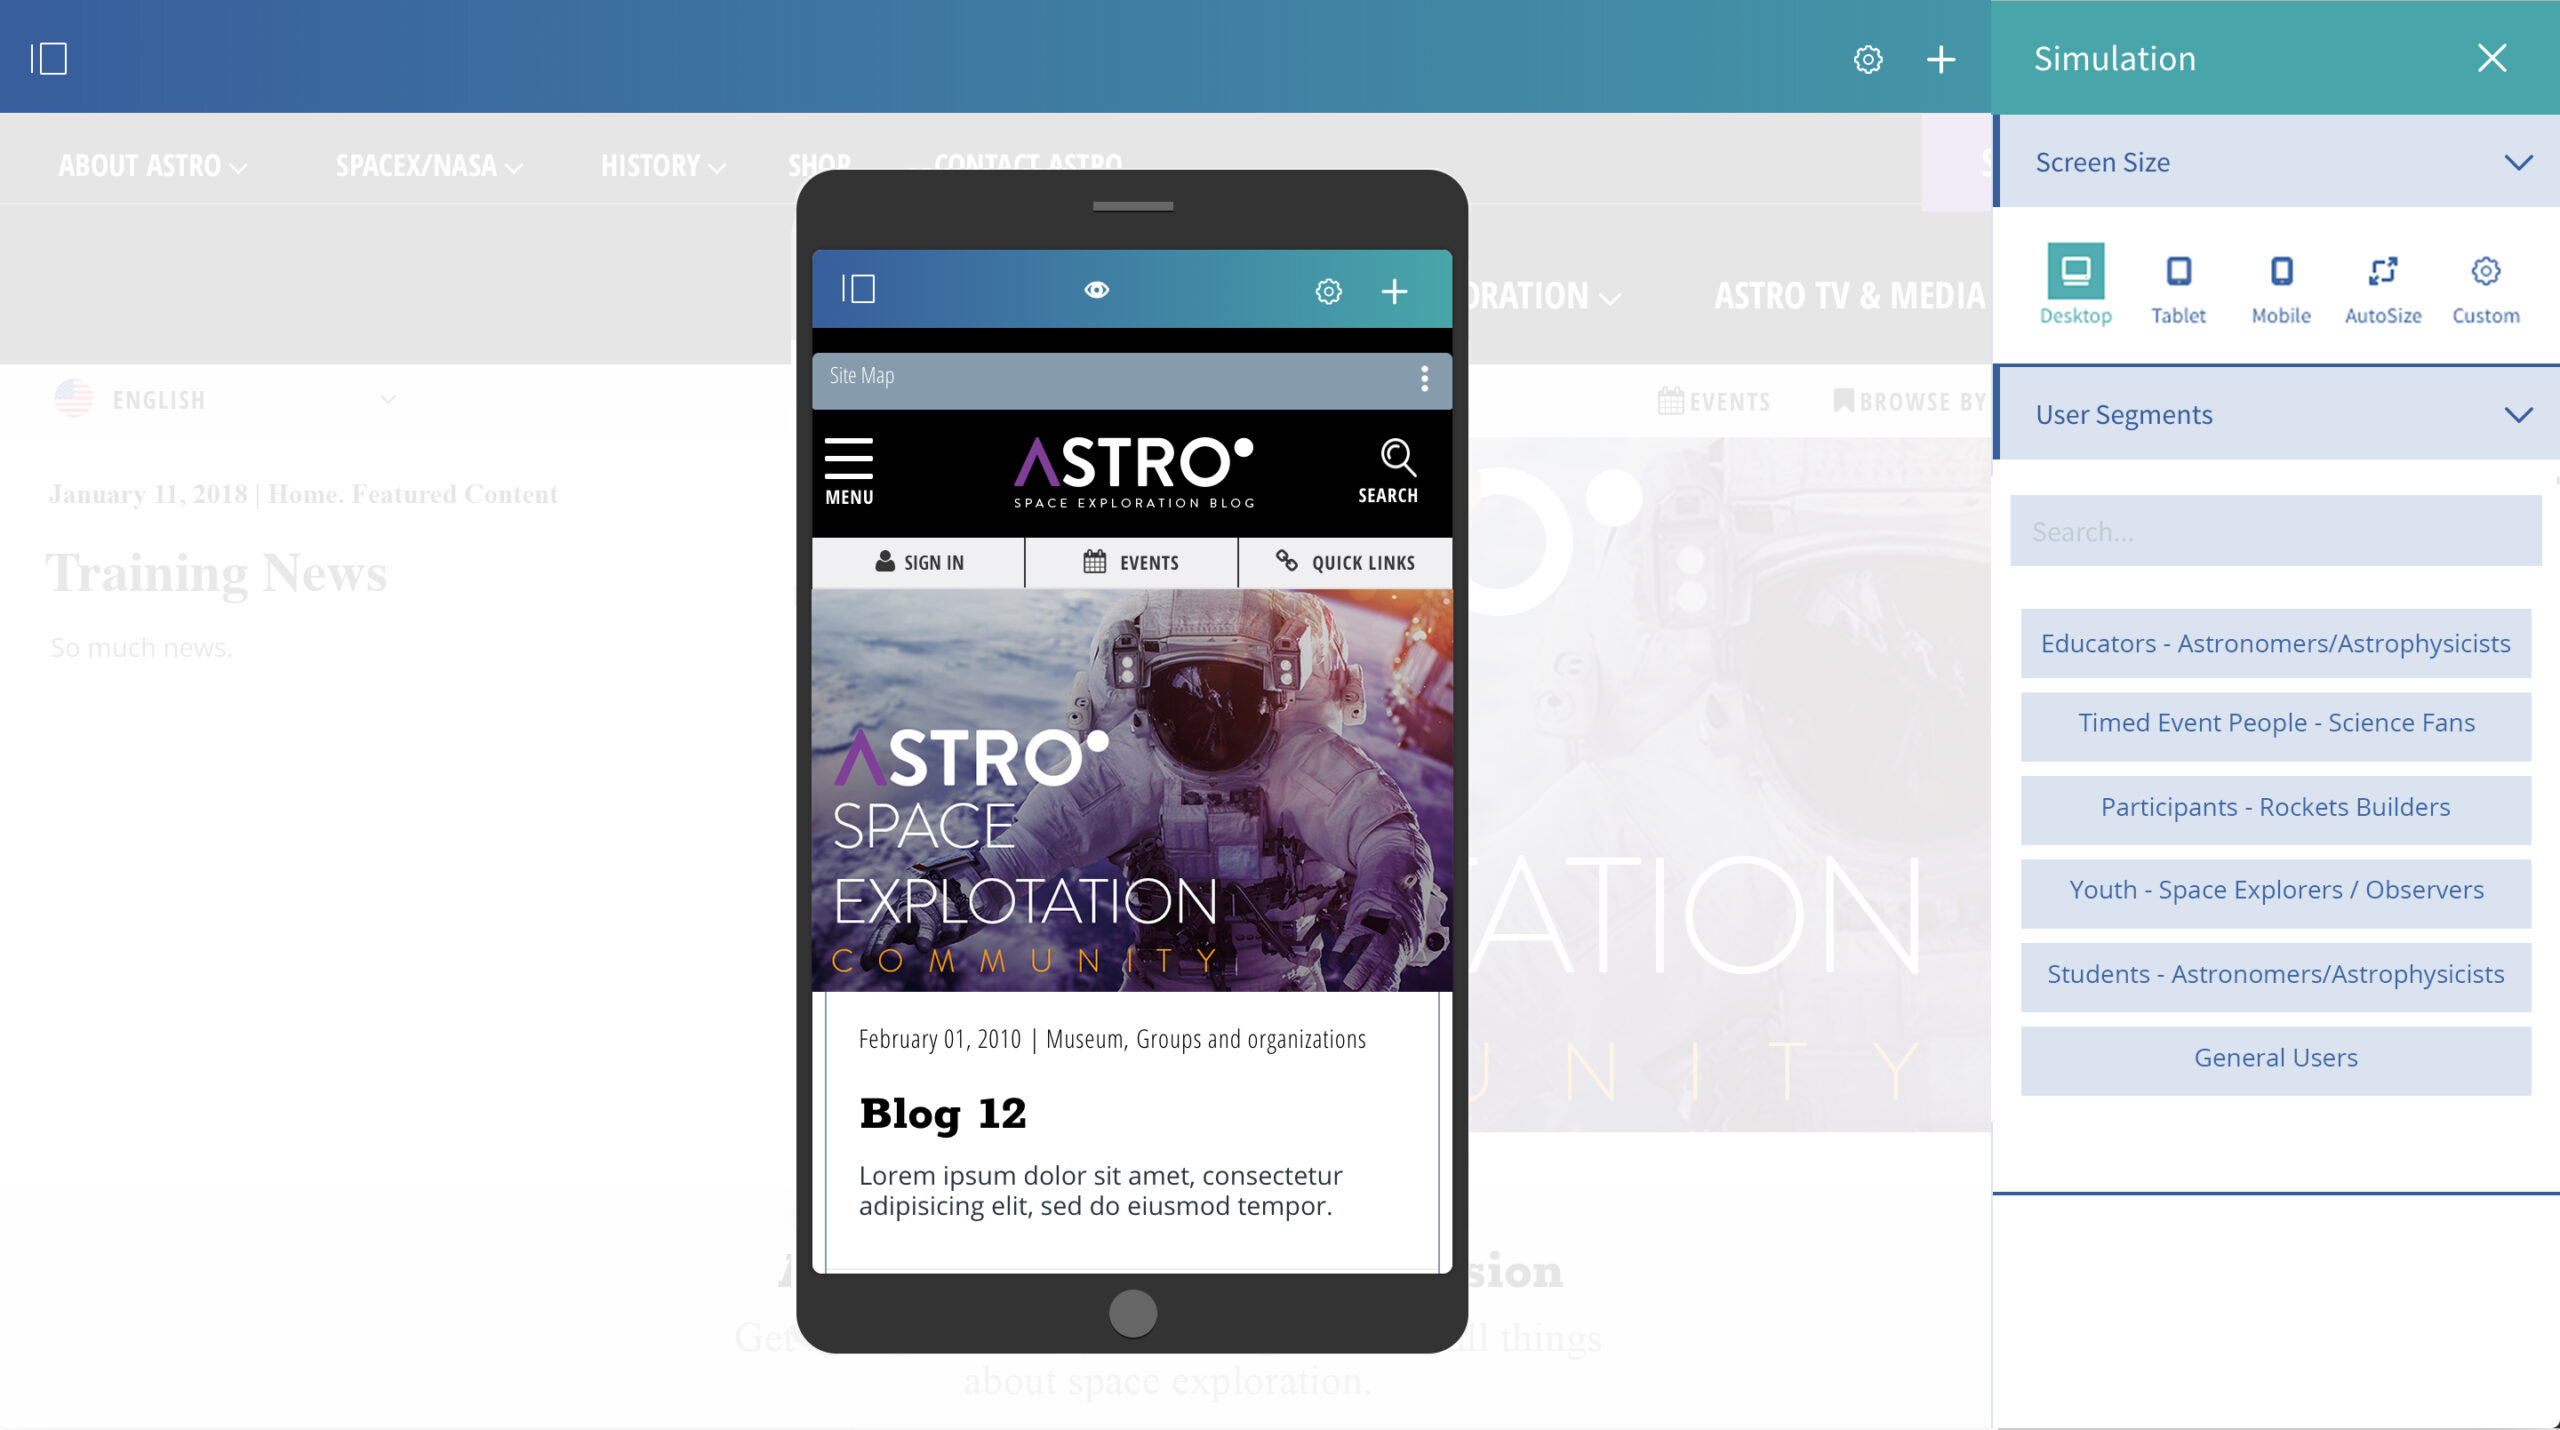
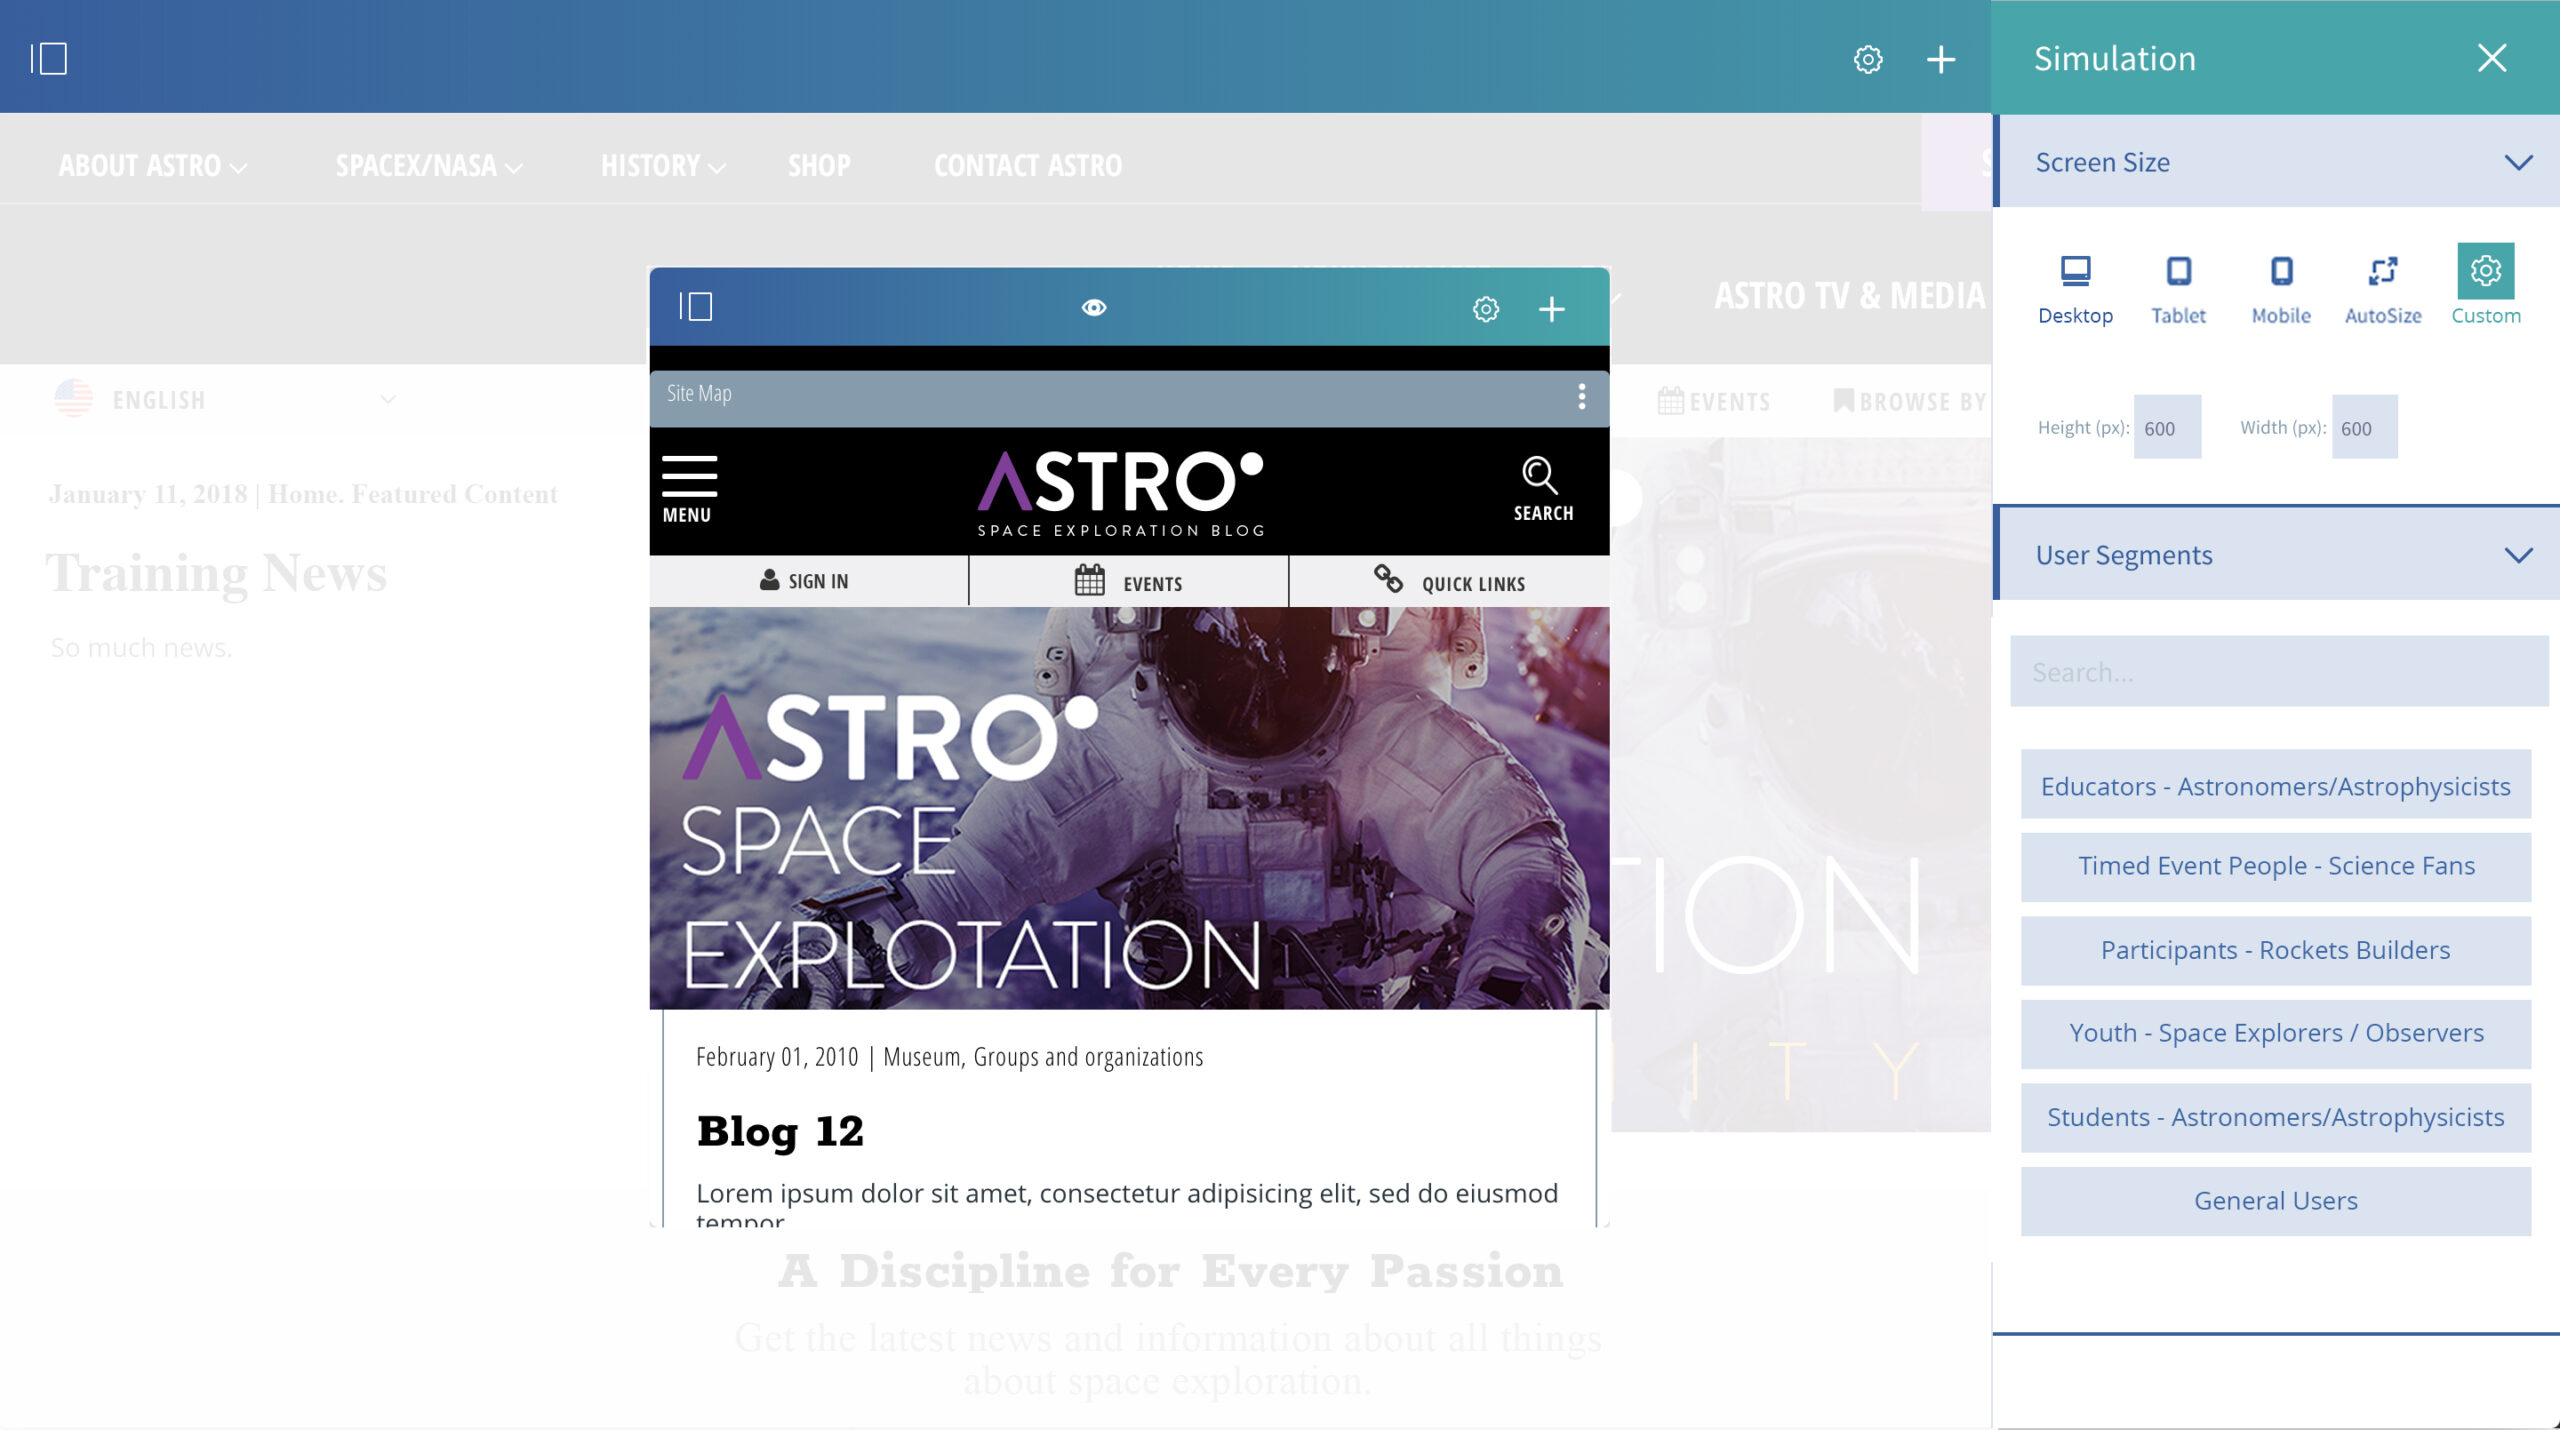
The system also supports a simulation mode which allows you to view the site on simulated devices and, if audience management is installed, how different audiences will see the site.
You can find the simulation button  on the top right of the menu bar.
The simulation bar will open on the right side of the screen.
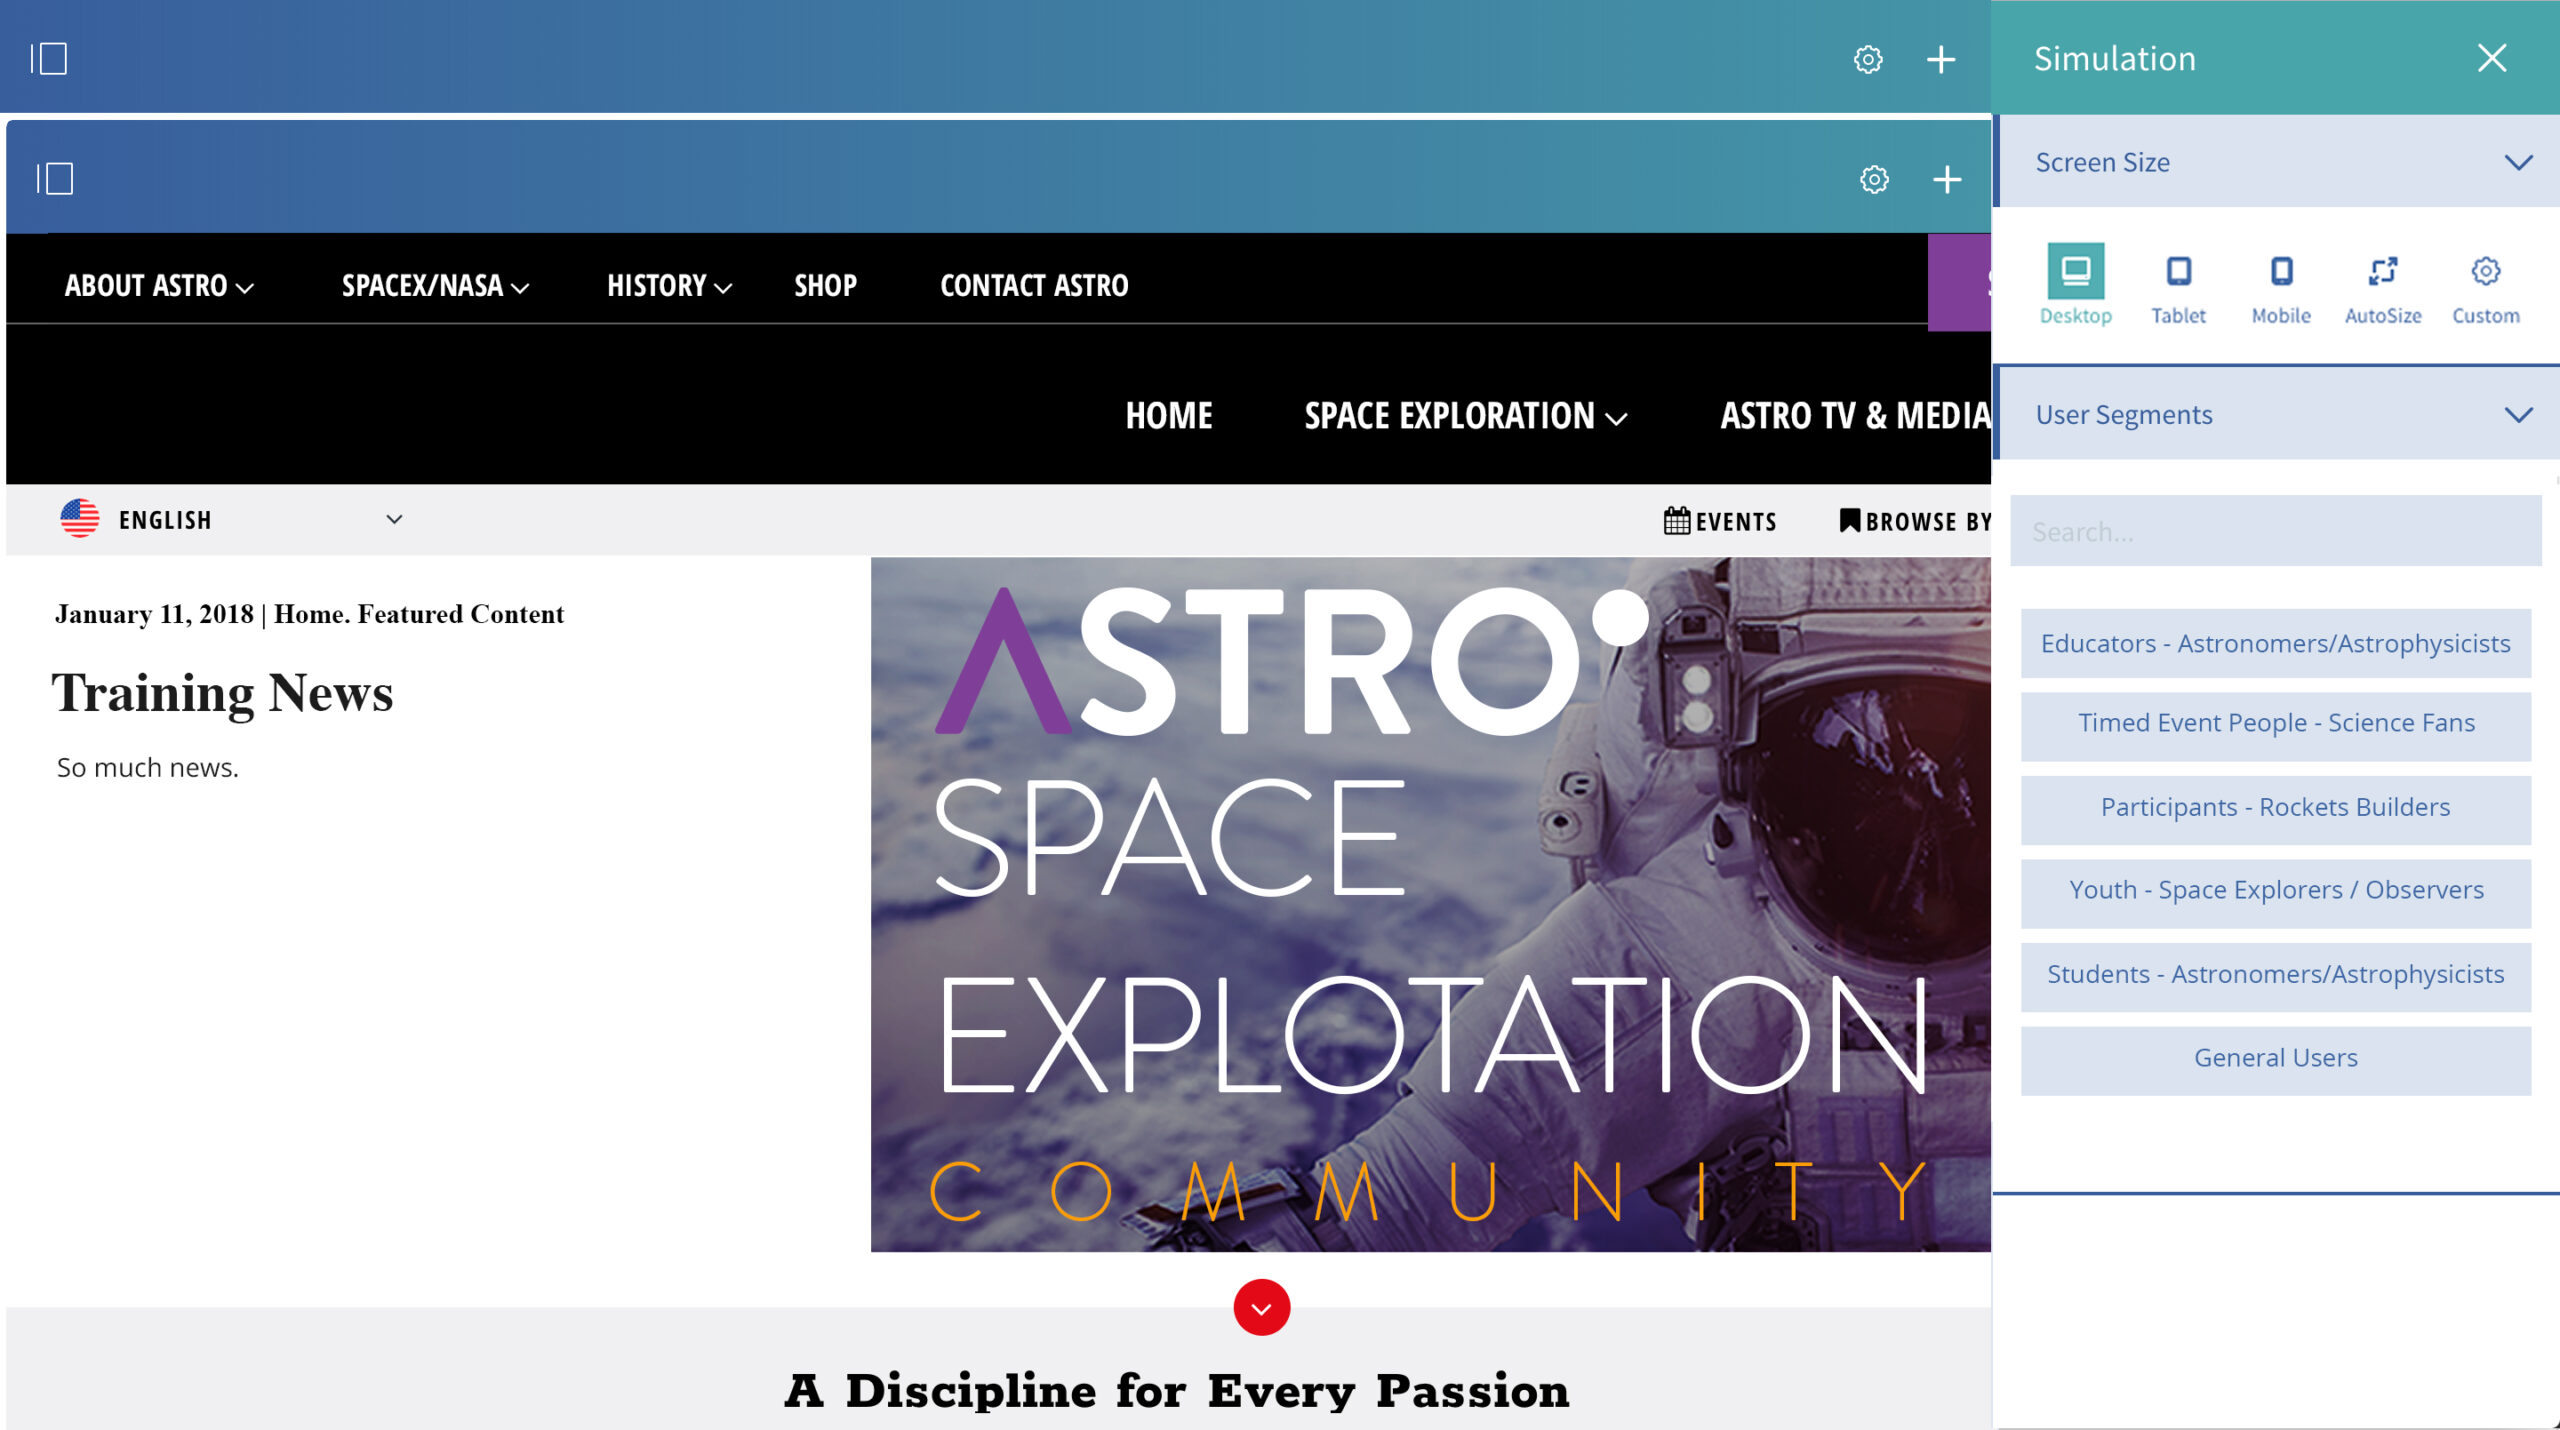
You can click on one of the default device types to show the current page in a simulated device.
You can even supply a specific size you wish to simulate in case you know need to support a specific devices resolution.
In case user segment aware components have been configured you can also simulate specific user segments.
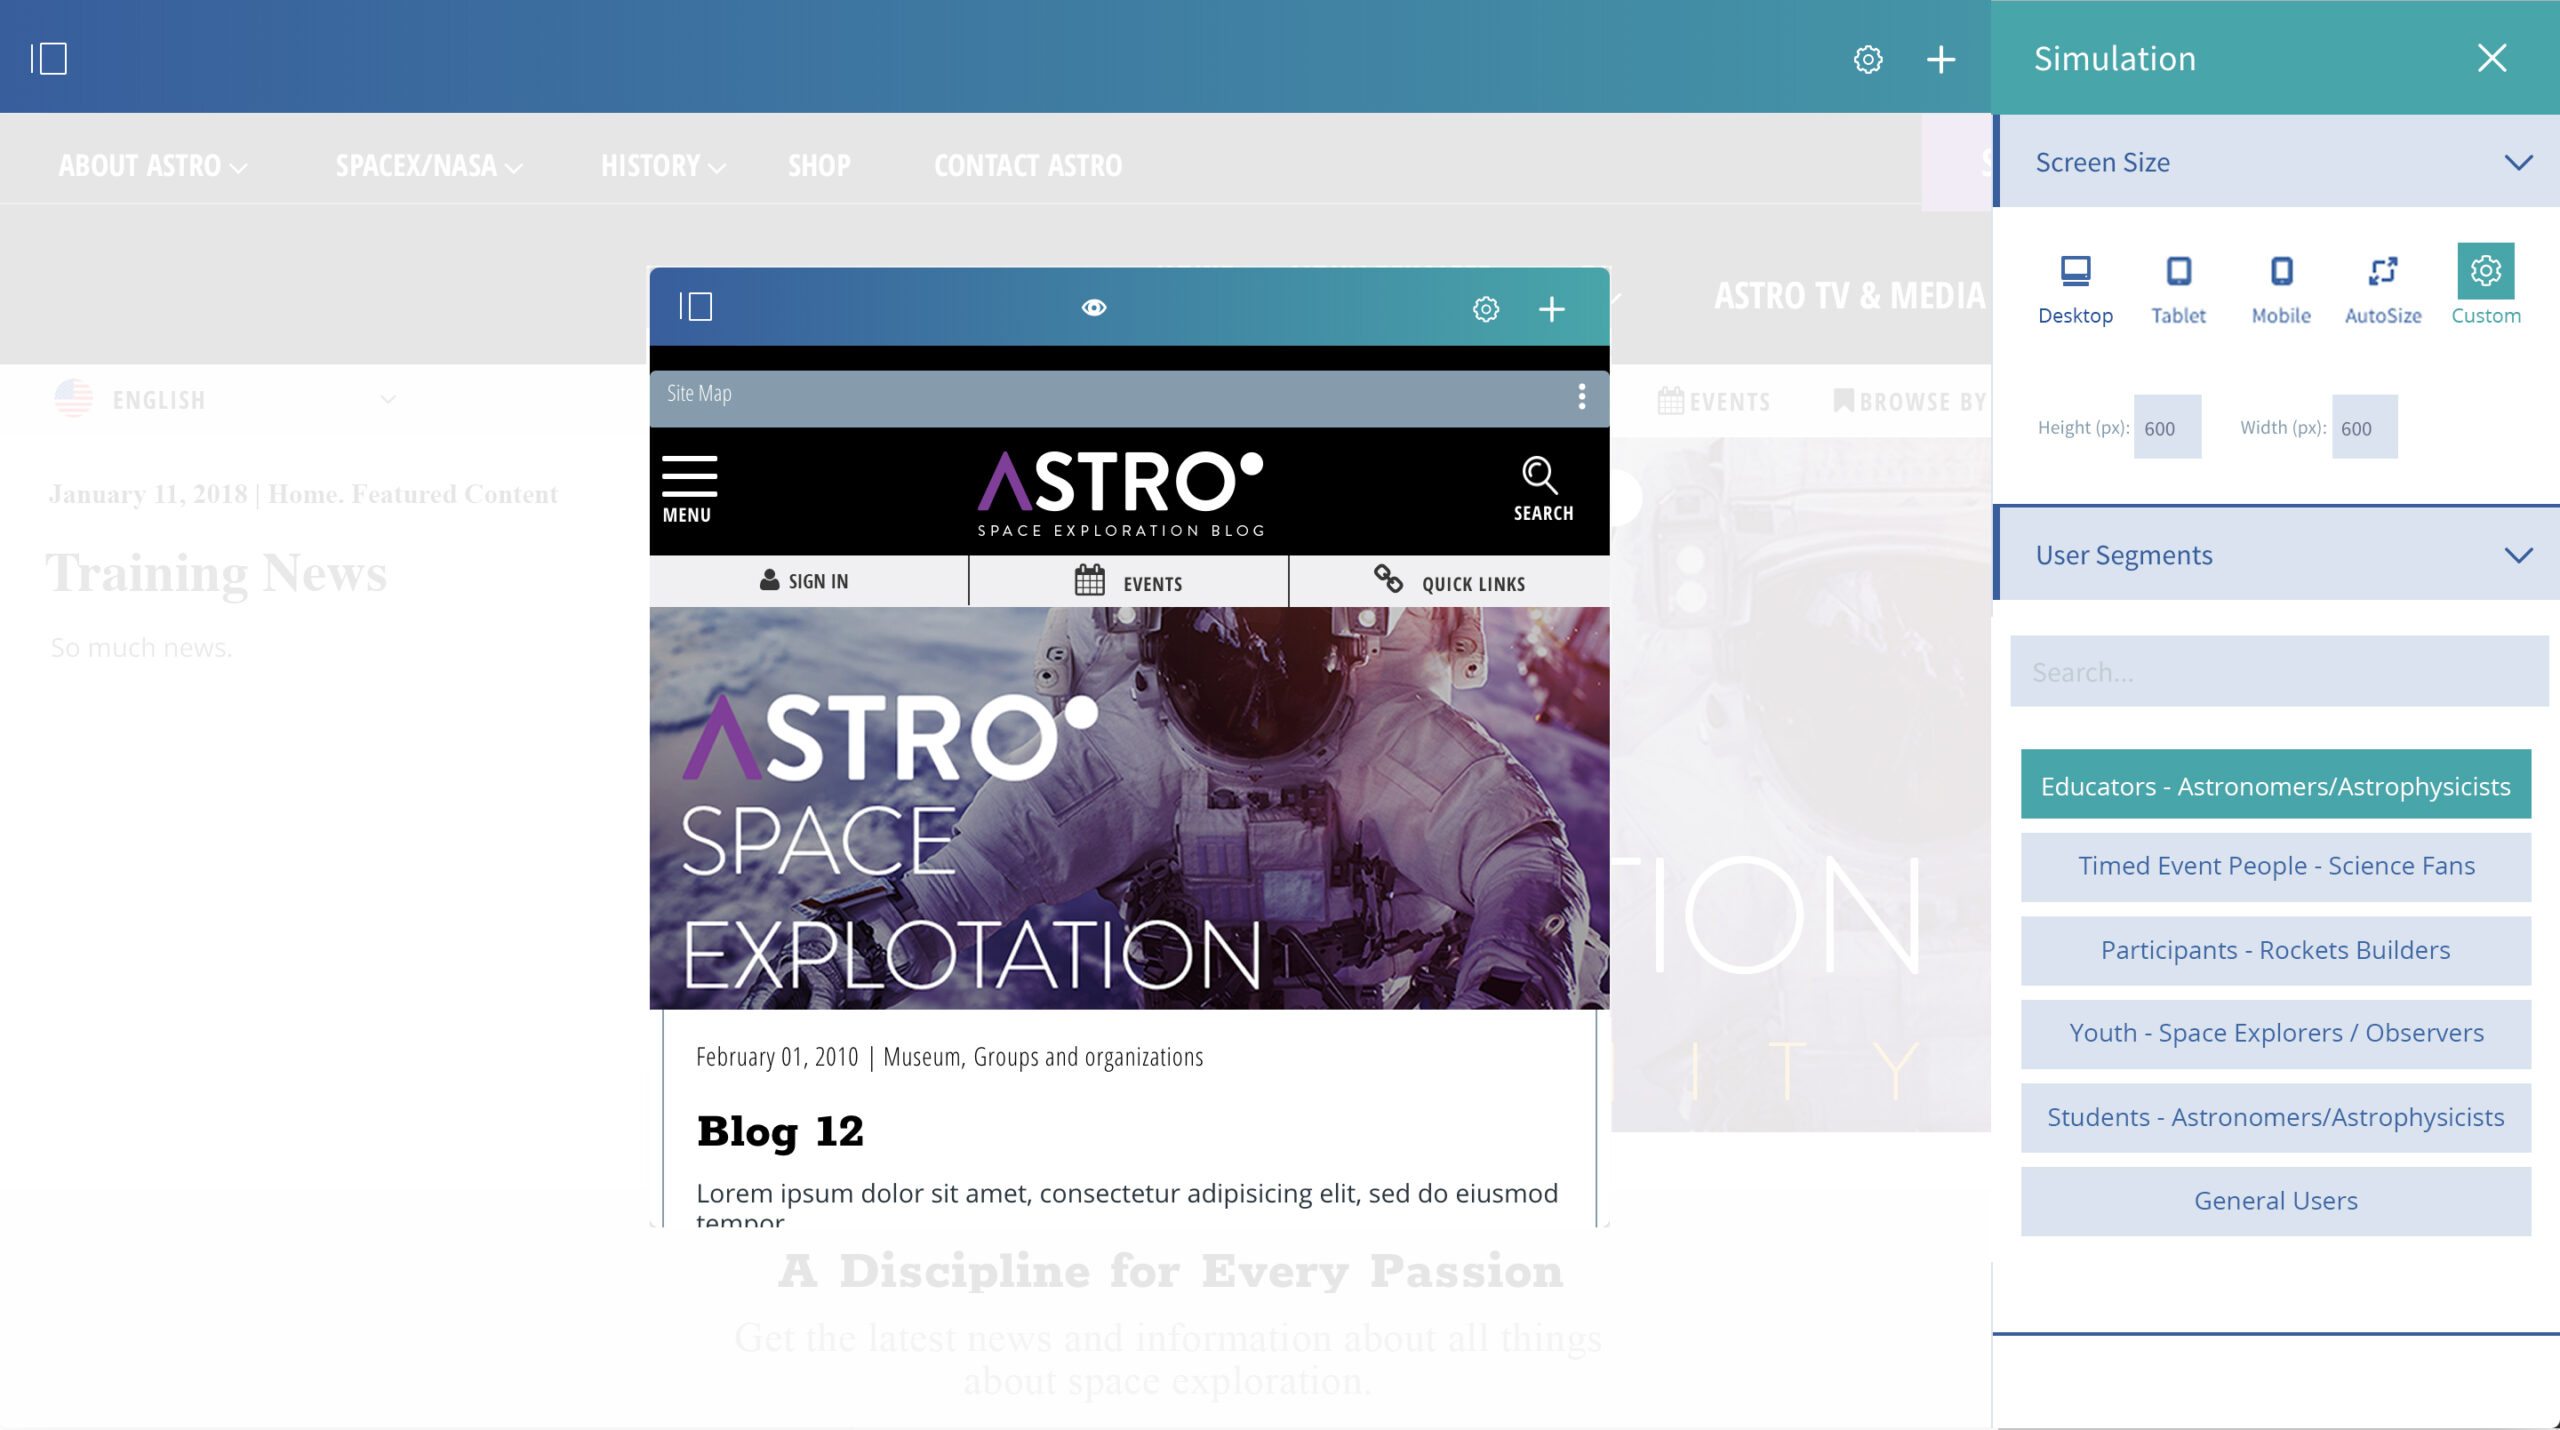
It is recommended to train content authors on the use of this mode to ensure content is displayed as expected on a mobile and another device.
The simulation-mode will give general feedback on how responsive sites will behave on devices but does not completely replace thorough testing on actual devices for large-scale changes.
Your site may also use navigation and sitemap components. These point to a specific location in the overall navigation displayed in the specific site area of the left menu. Due to this, you can effectively hide sections of the site from visitors without actually securing them.
In the next post we will look at the tools to edit and publish content.